[ Purchase ]
1. Choose a license
Select the license that best fits your needs and click purchase to begin. For details on license terms, visit the EULA page.

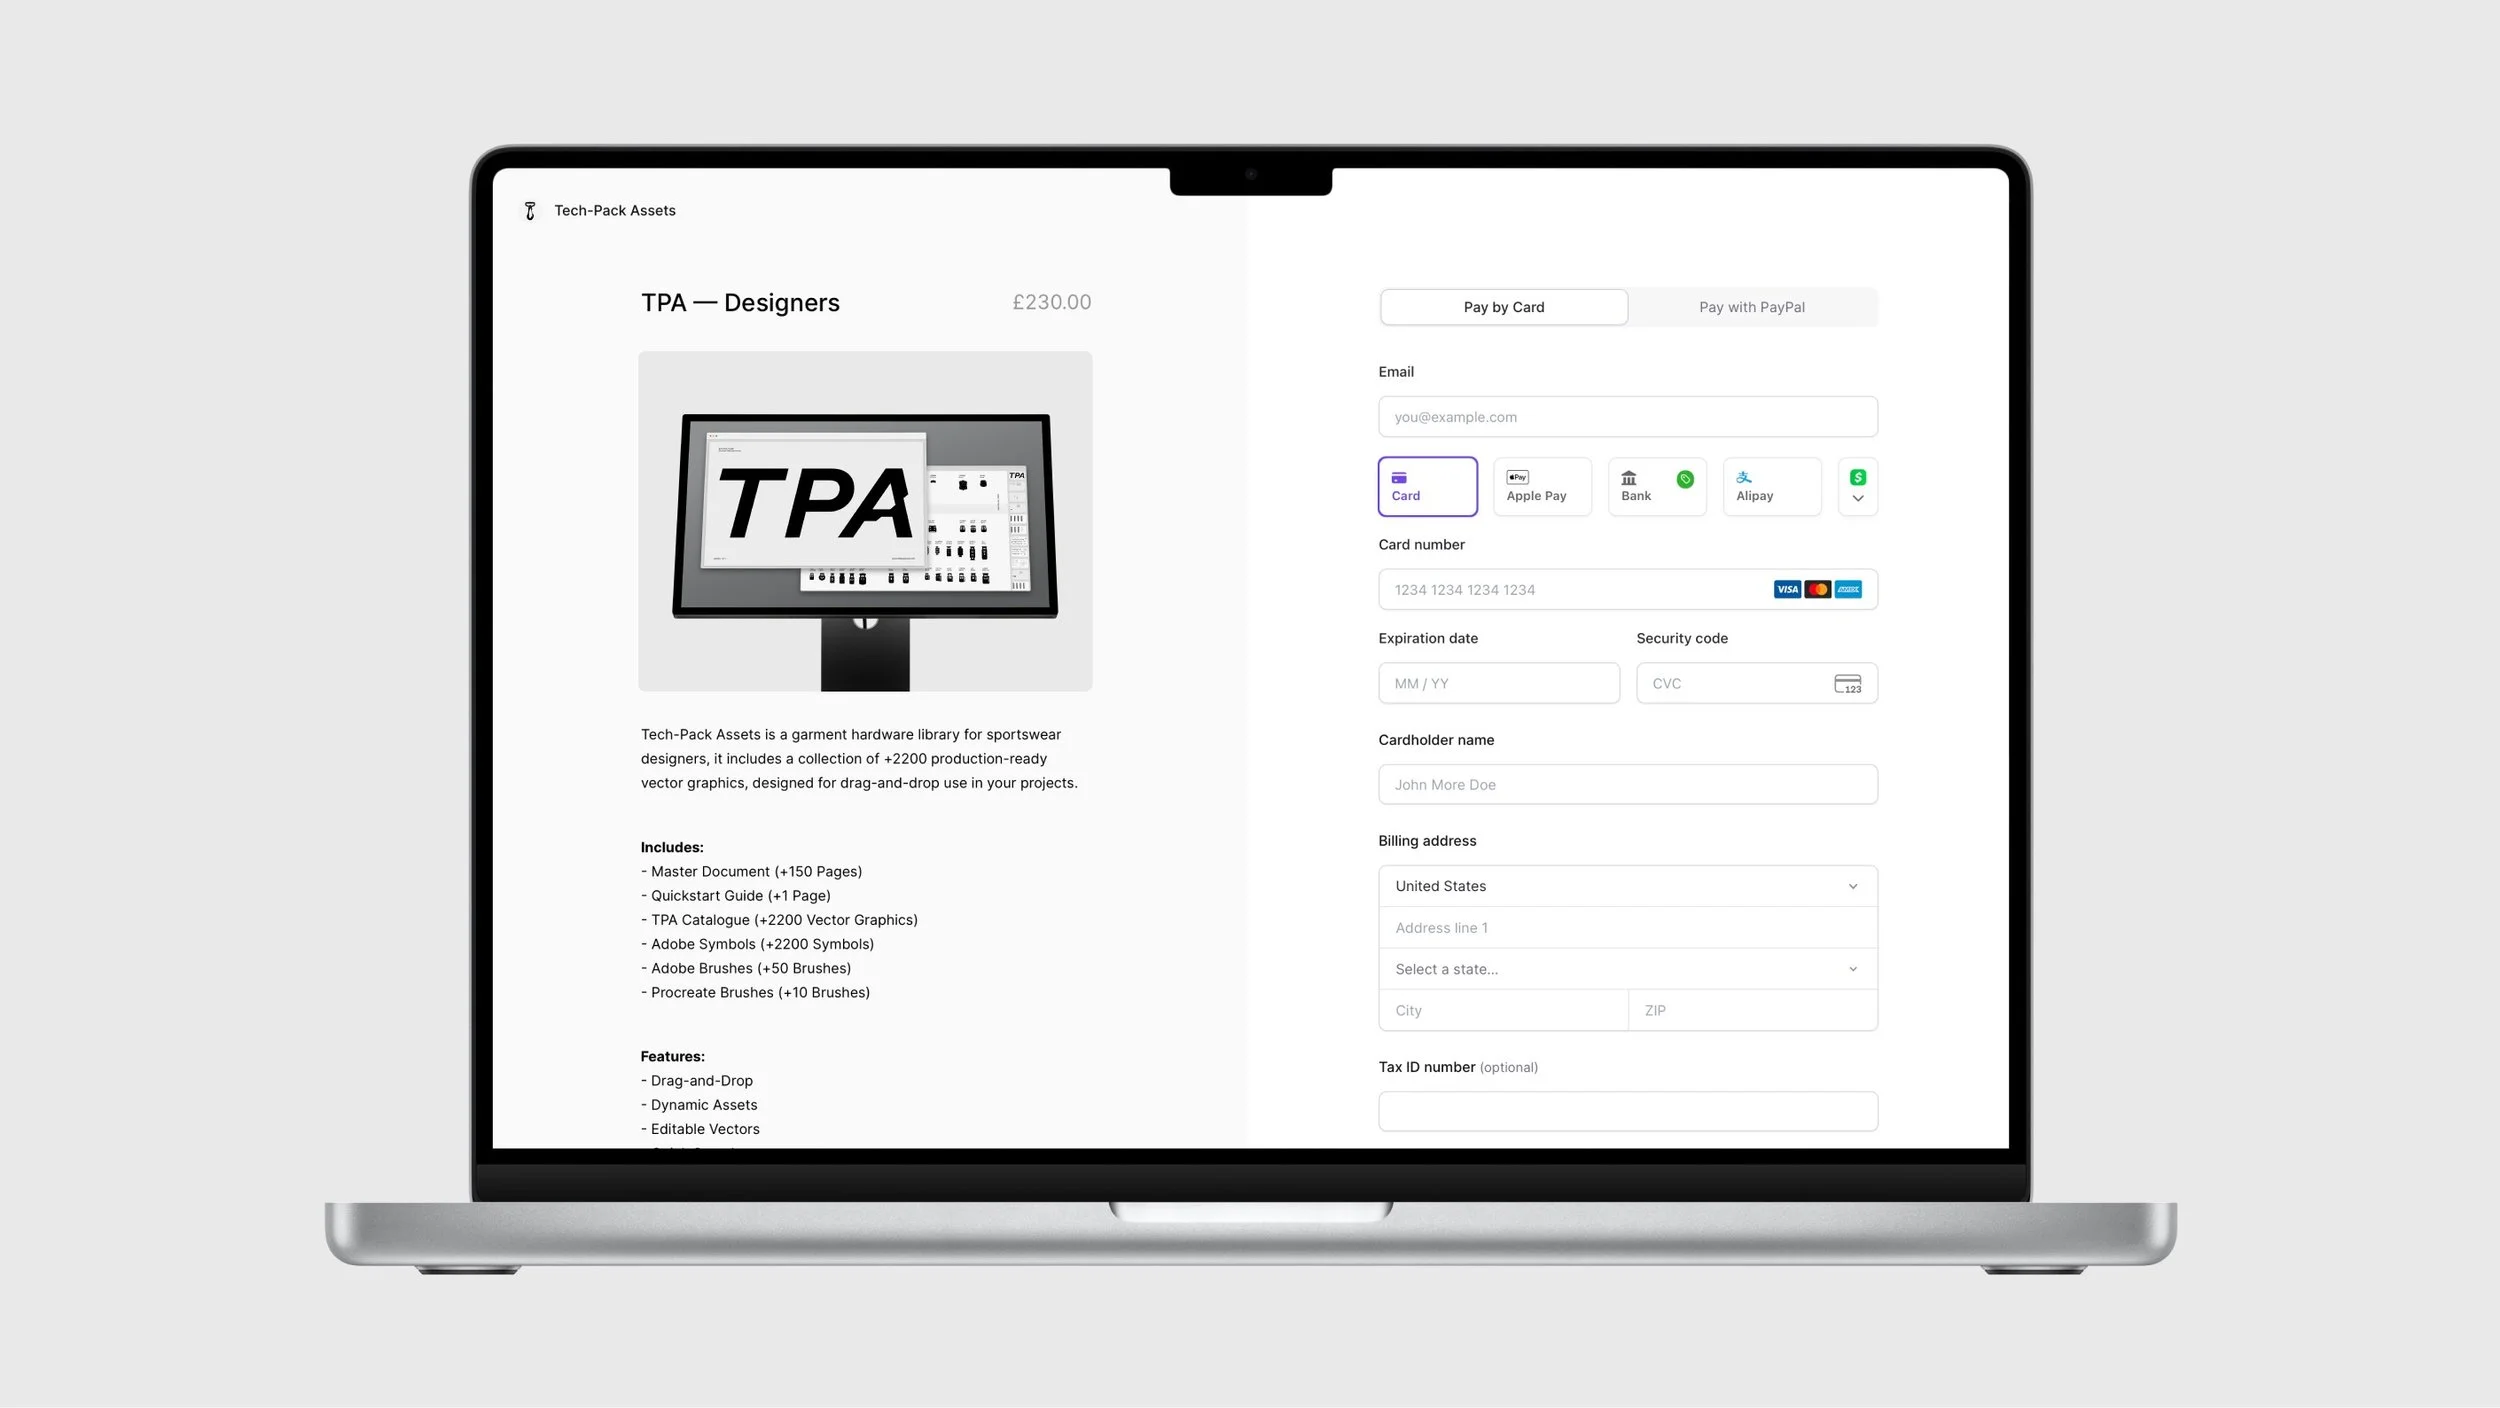
2. Place your order
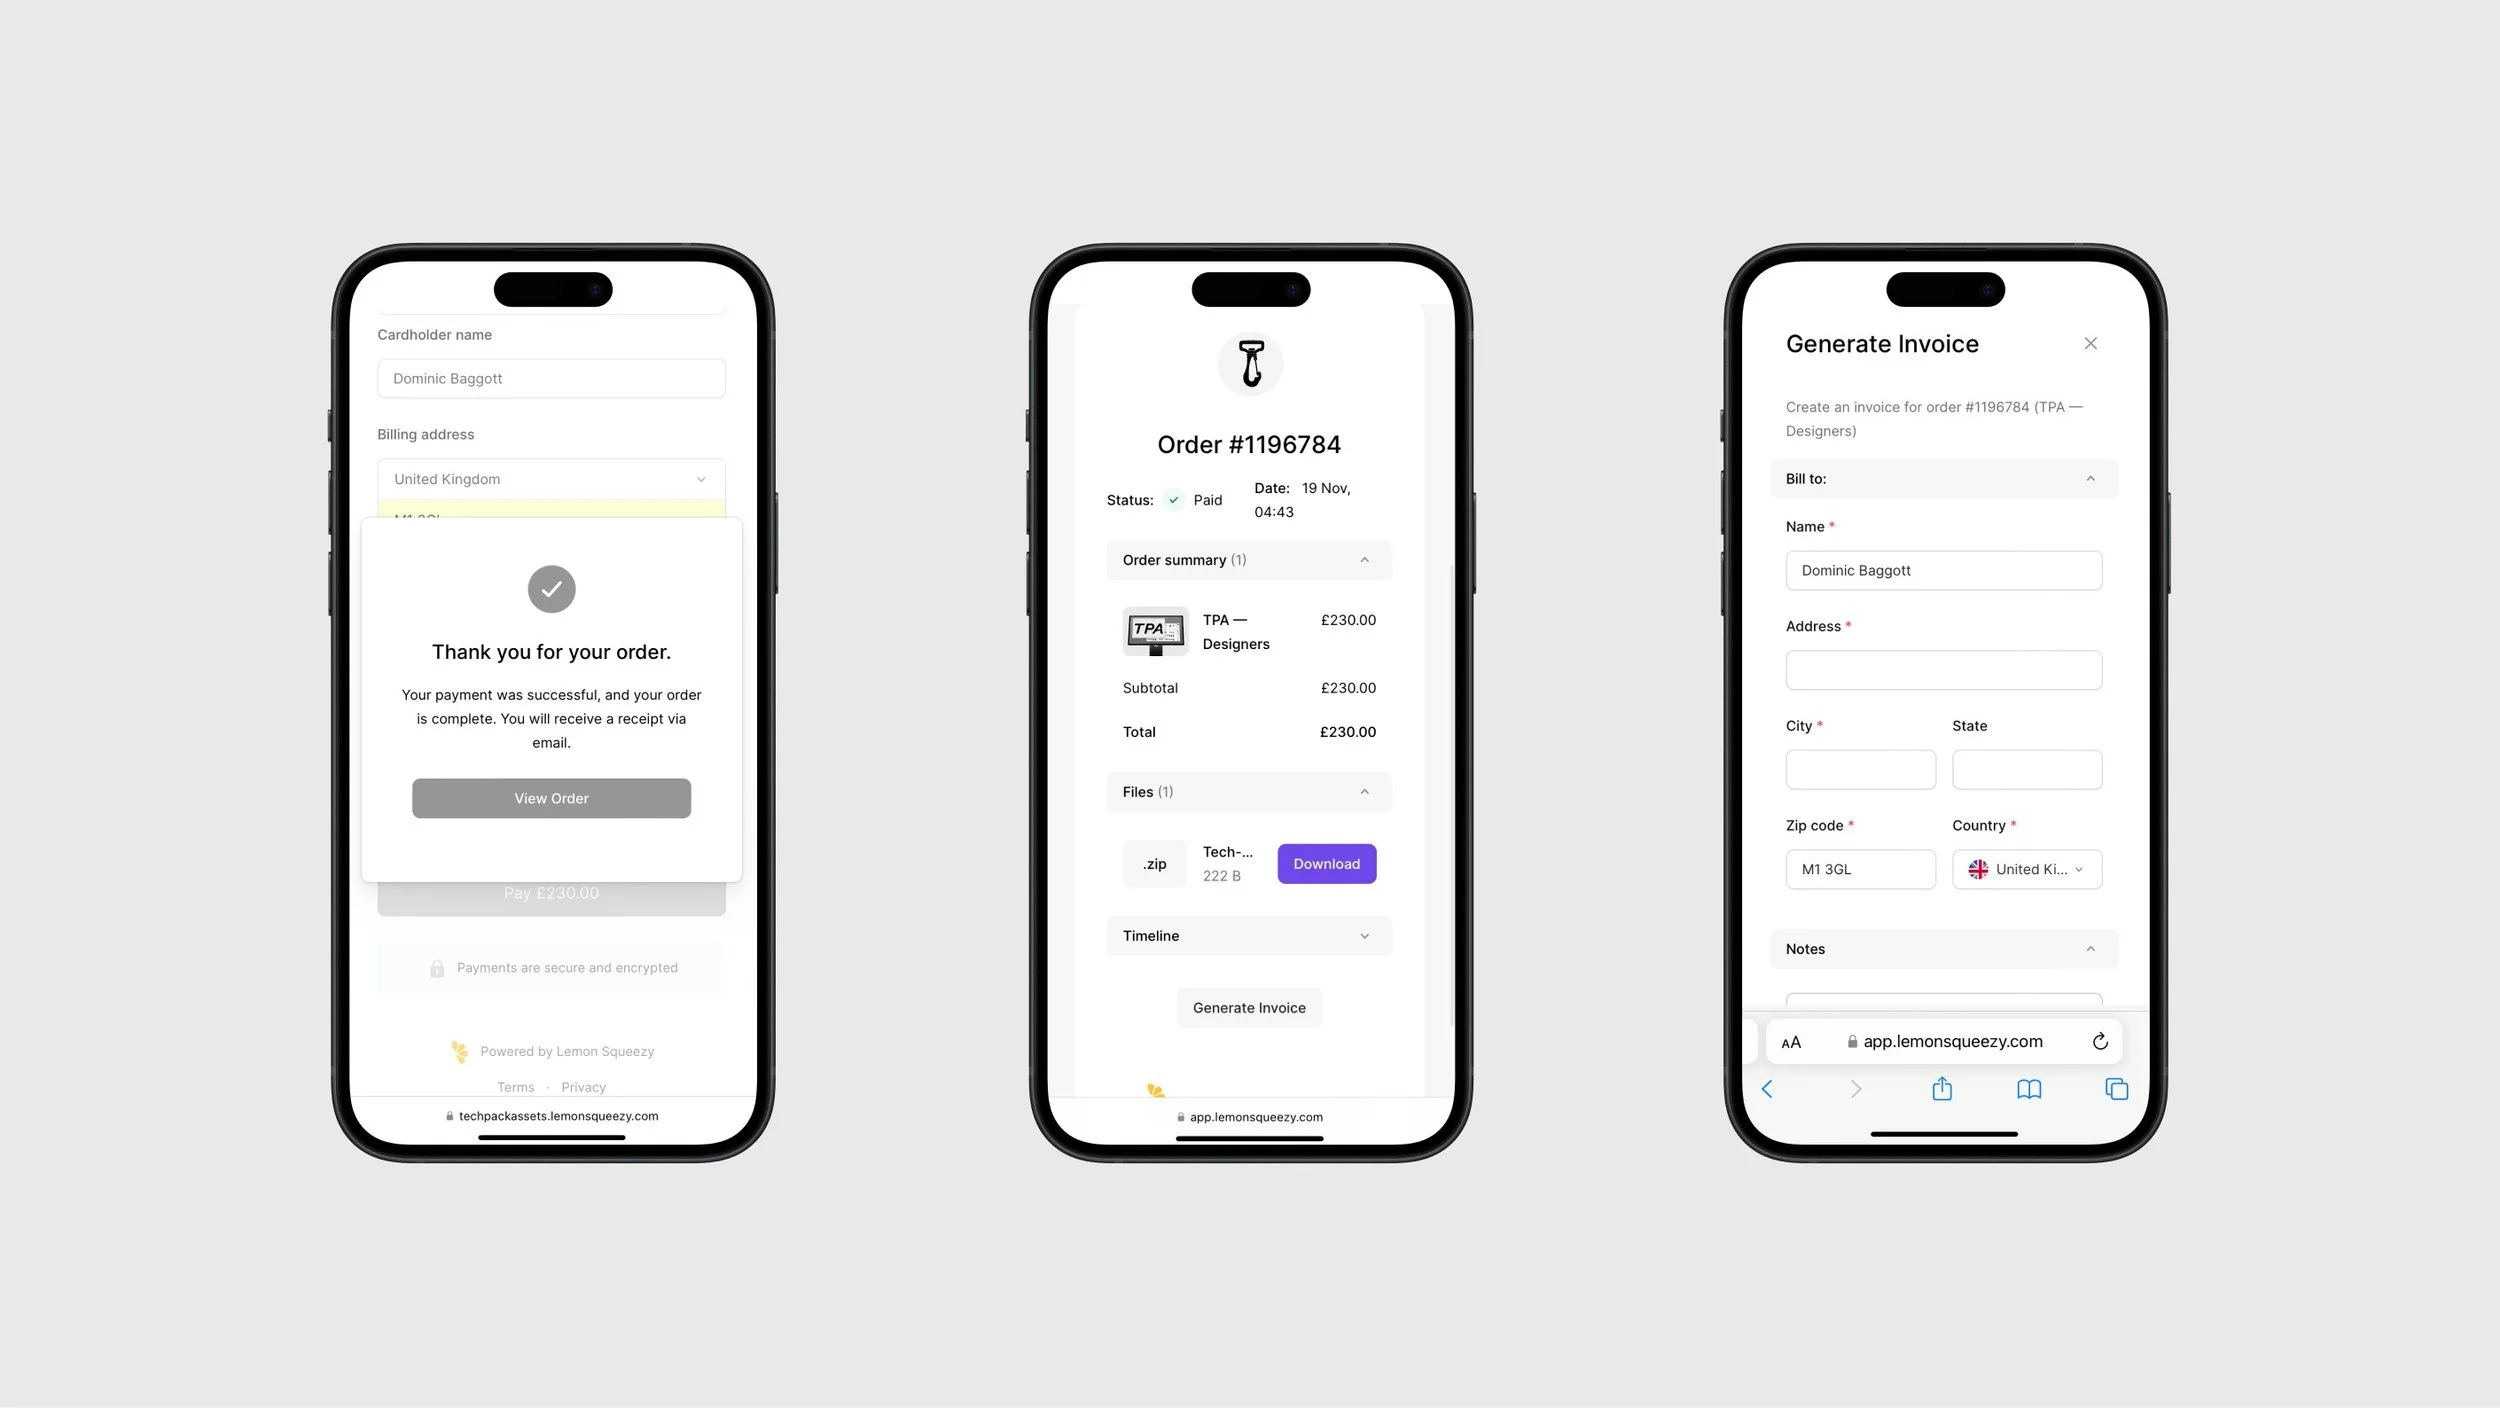
Enter your billing details and proceed to payment. Taxes will be calculated based on your location and VAT exemption eligibility. After payment, you will receive a download link and invoice via email.
3. Download TPA
Once you've received your order email, click View Order > Download. Enter the same email used at checkout, or log in if you already have an account.
[ Reference ]
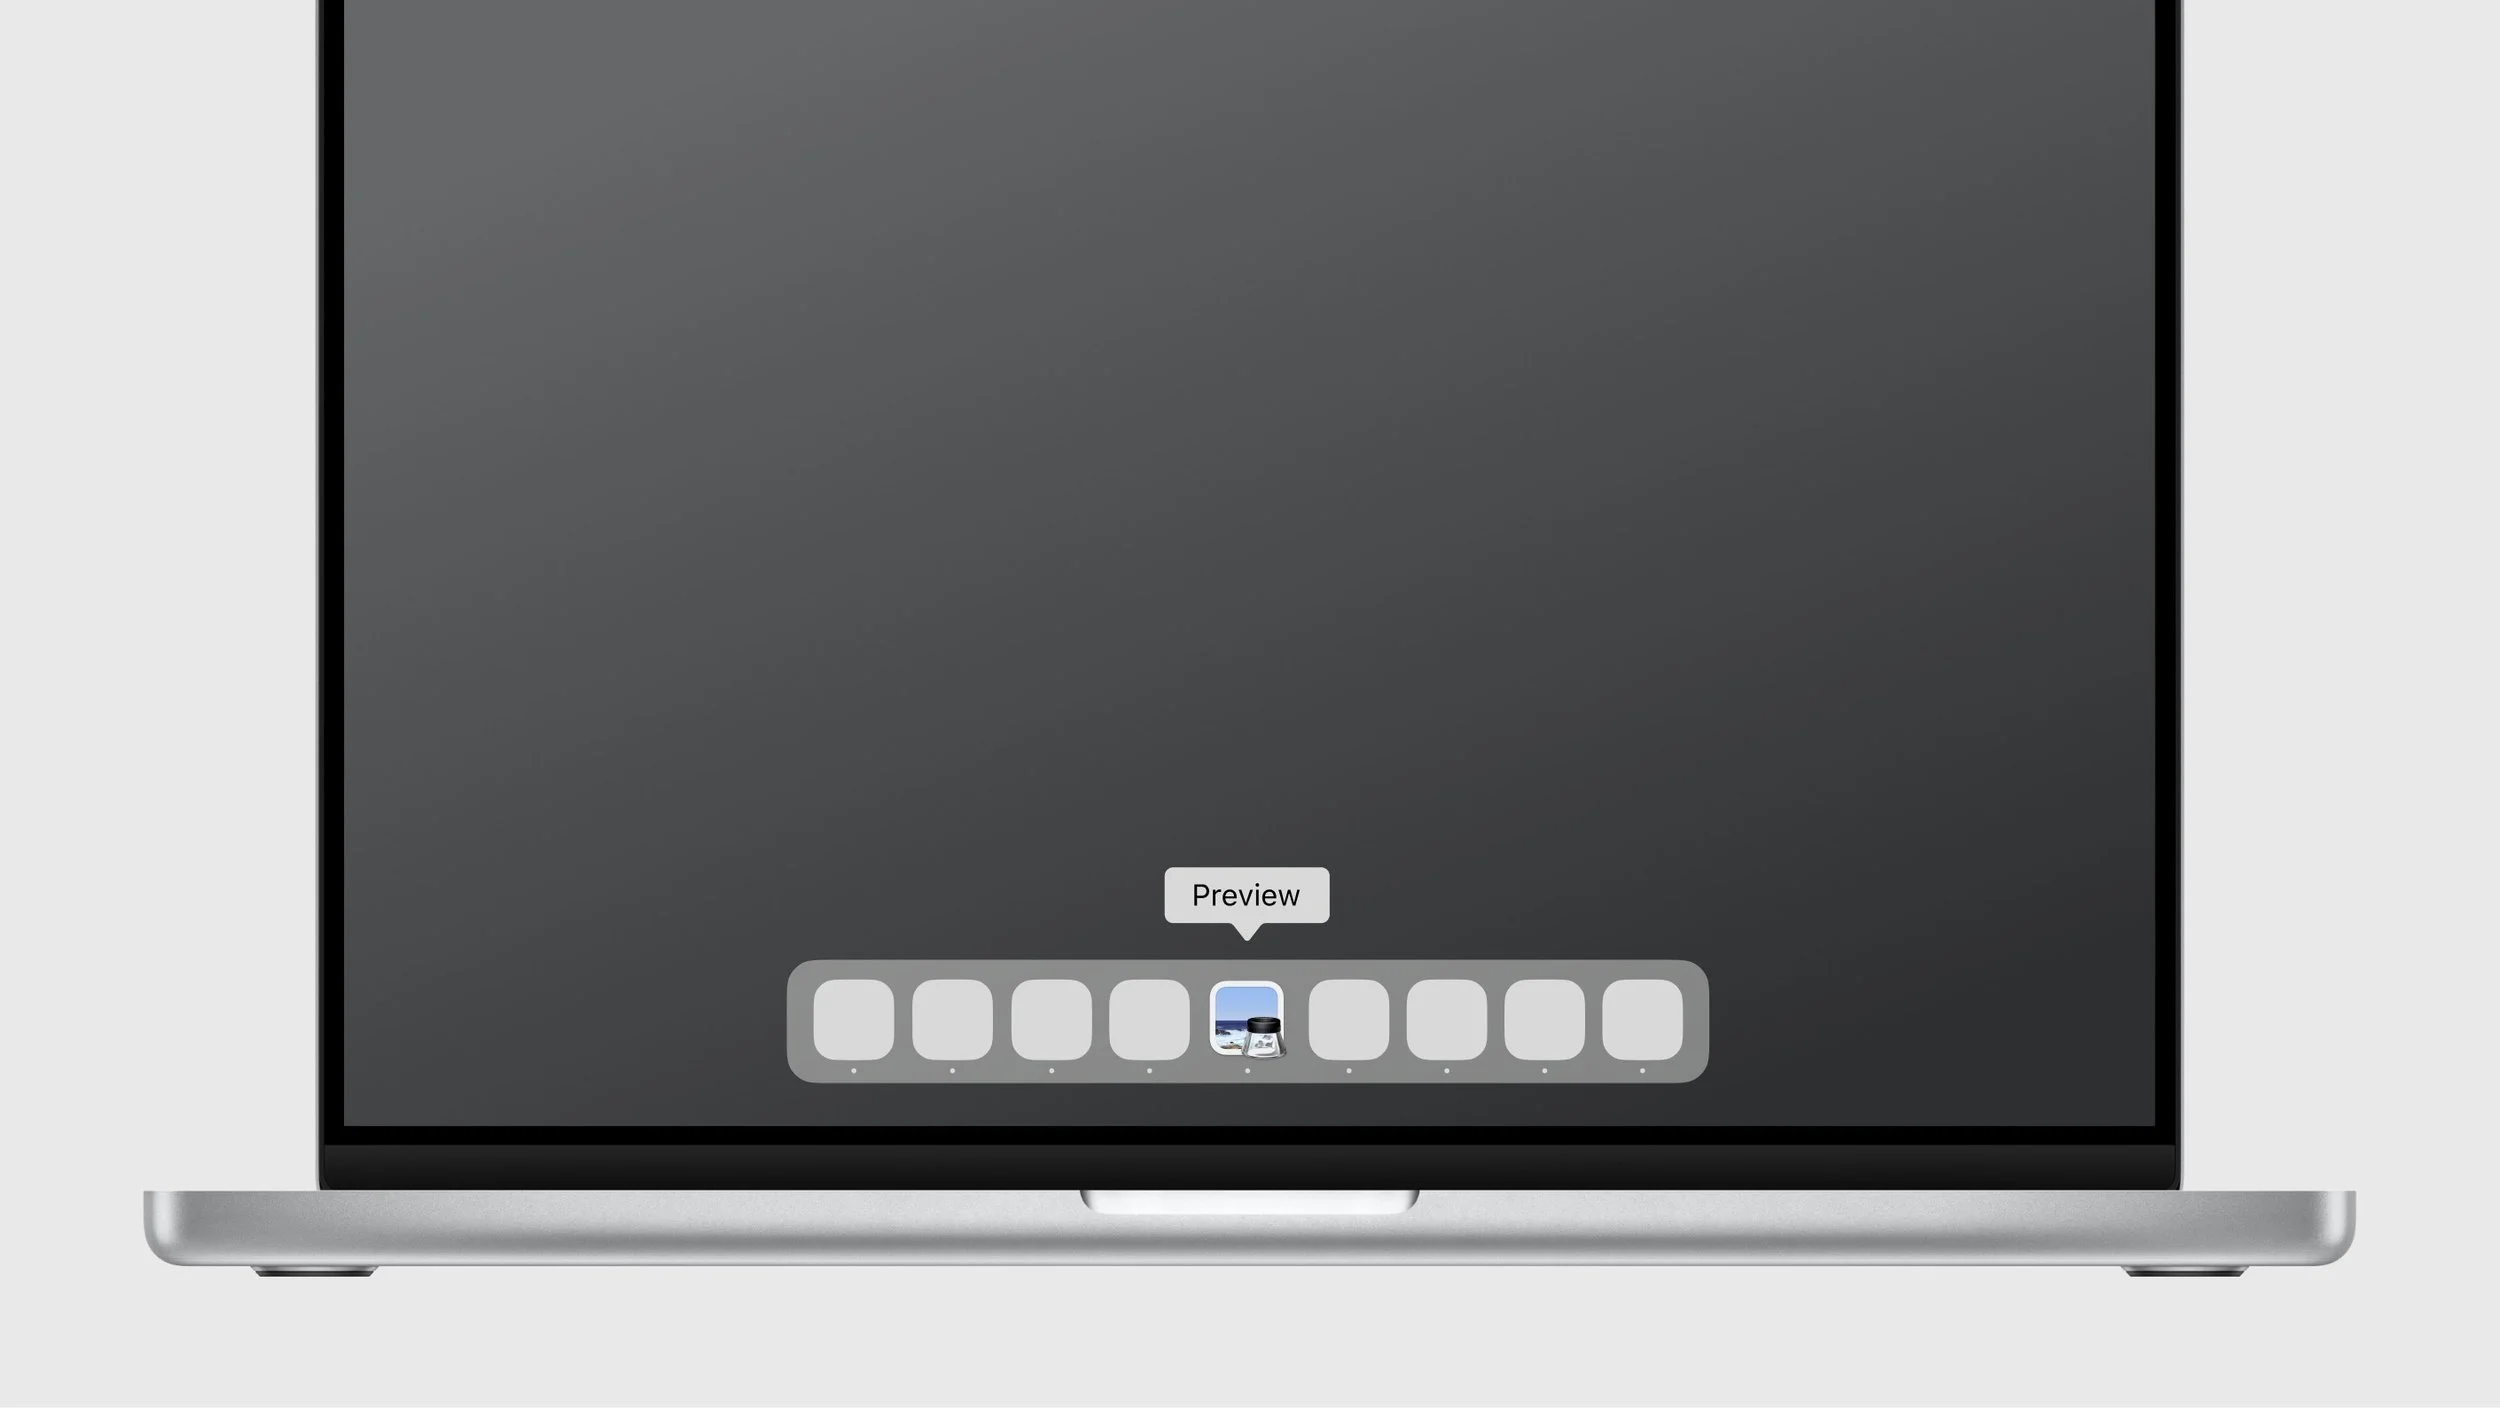
1. Open the Master Doc in Preview
To open the Master Document in Preview
right-click the file > Open With > Preview.
Alternatively, select the doc and hit the spacebar to open a Quick Look window (Mac).
2. Browse the Master Doc for components
Scroll through the Master Document to explore the TPA library, or use the search bar to locate a specific component.
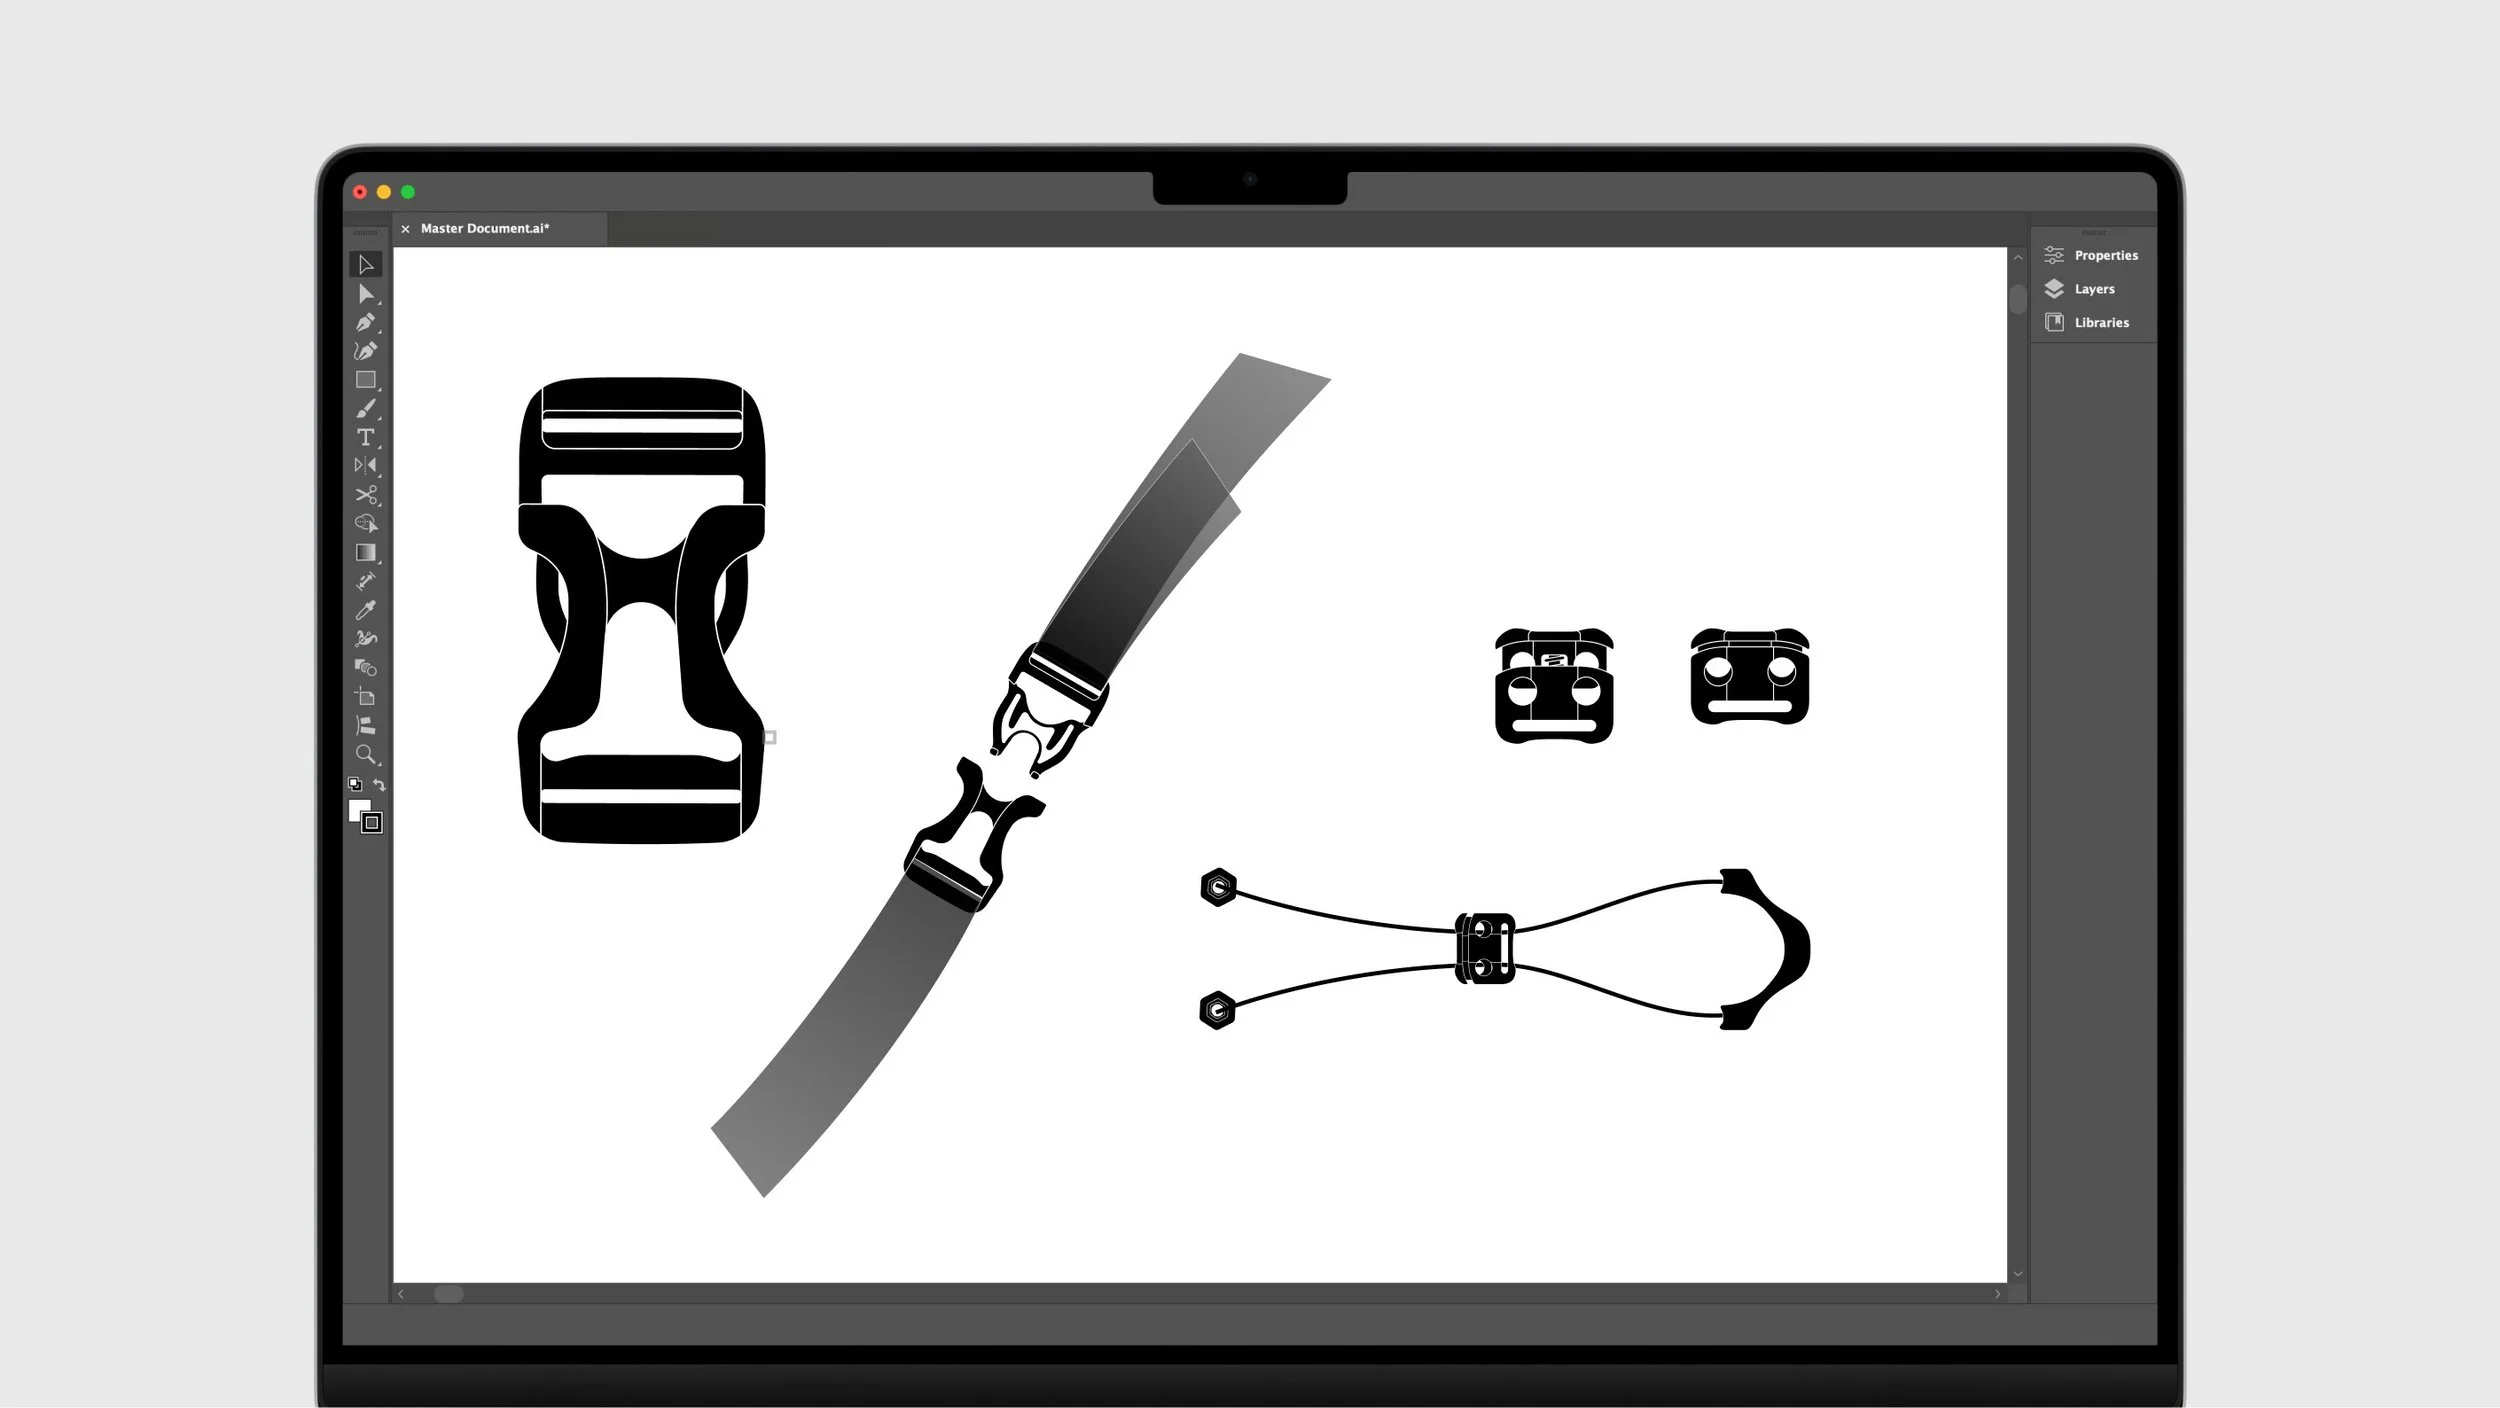
[ Design ]
1. Open the Master Doc in Adobe Illustrator
For the best experience, make sure you are using the latest Illustrator version.
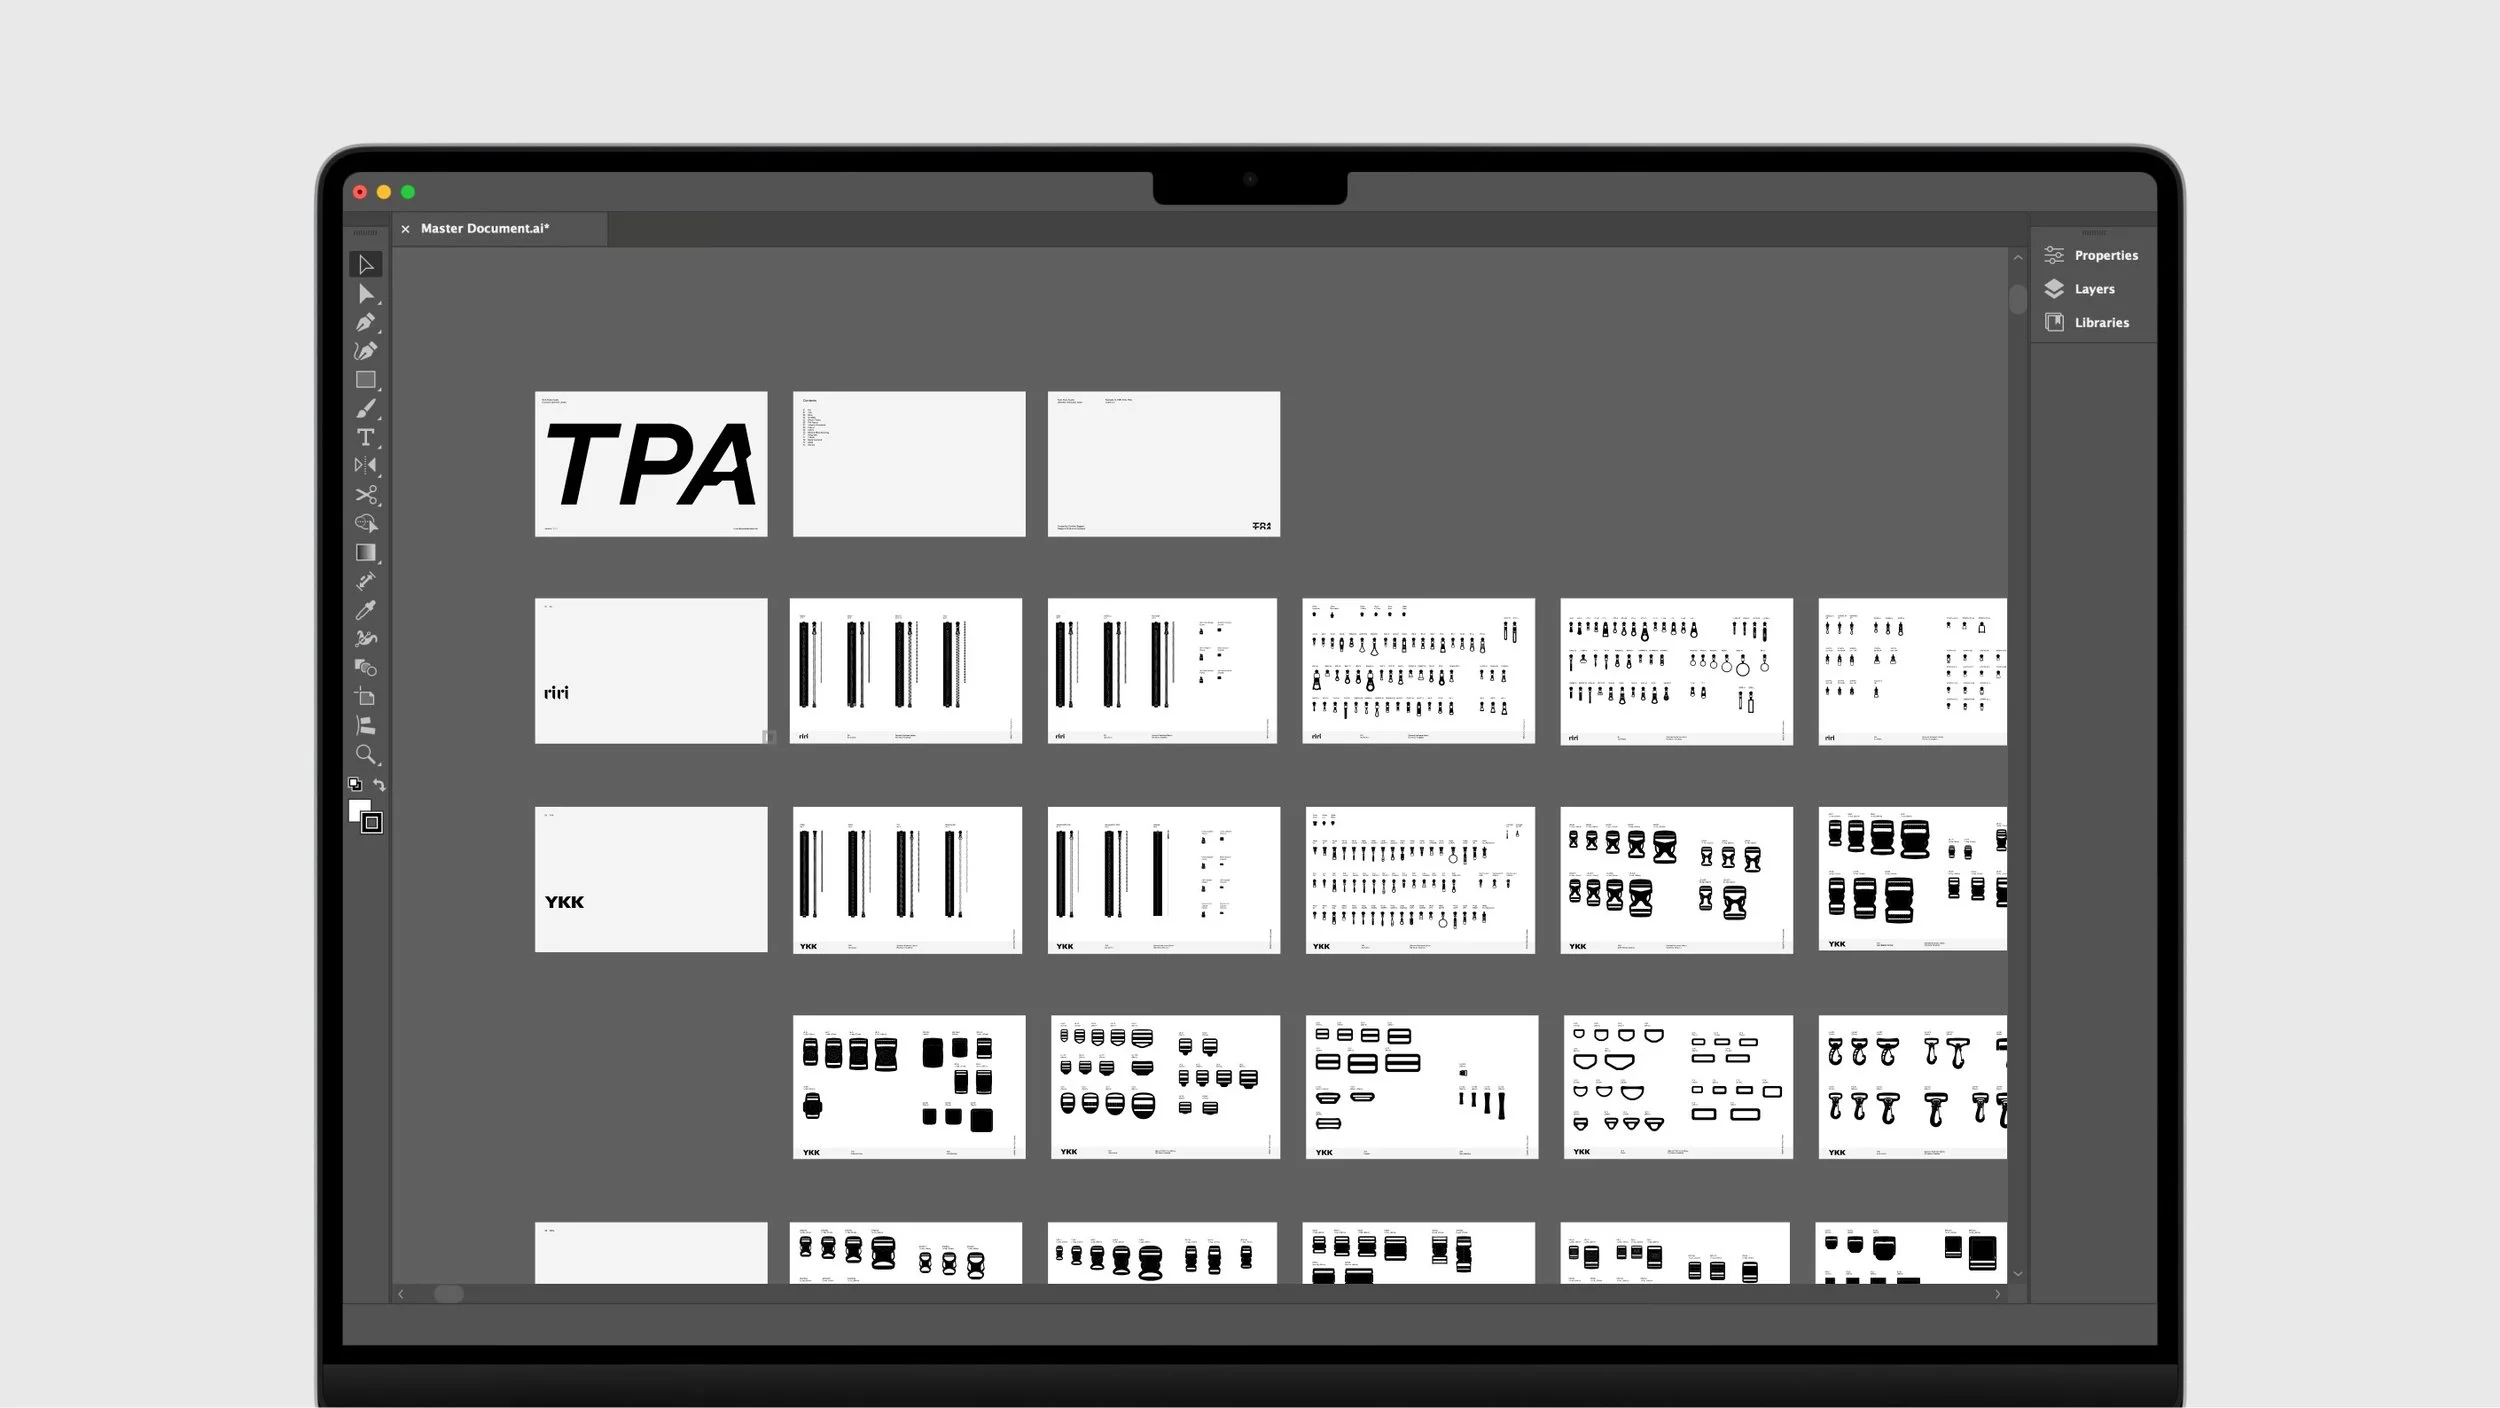
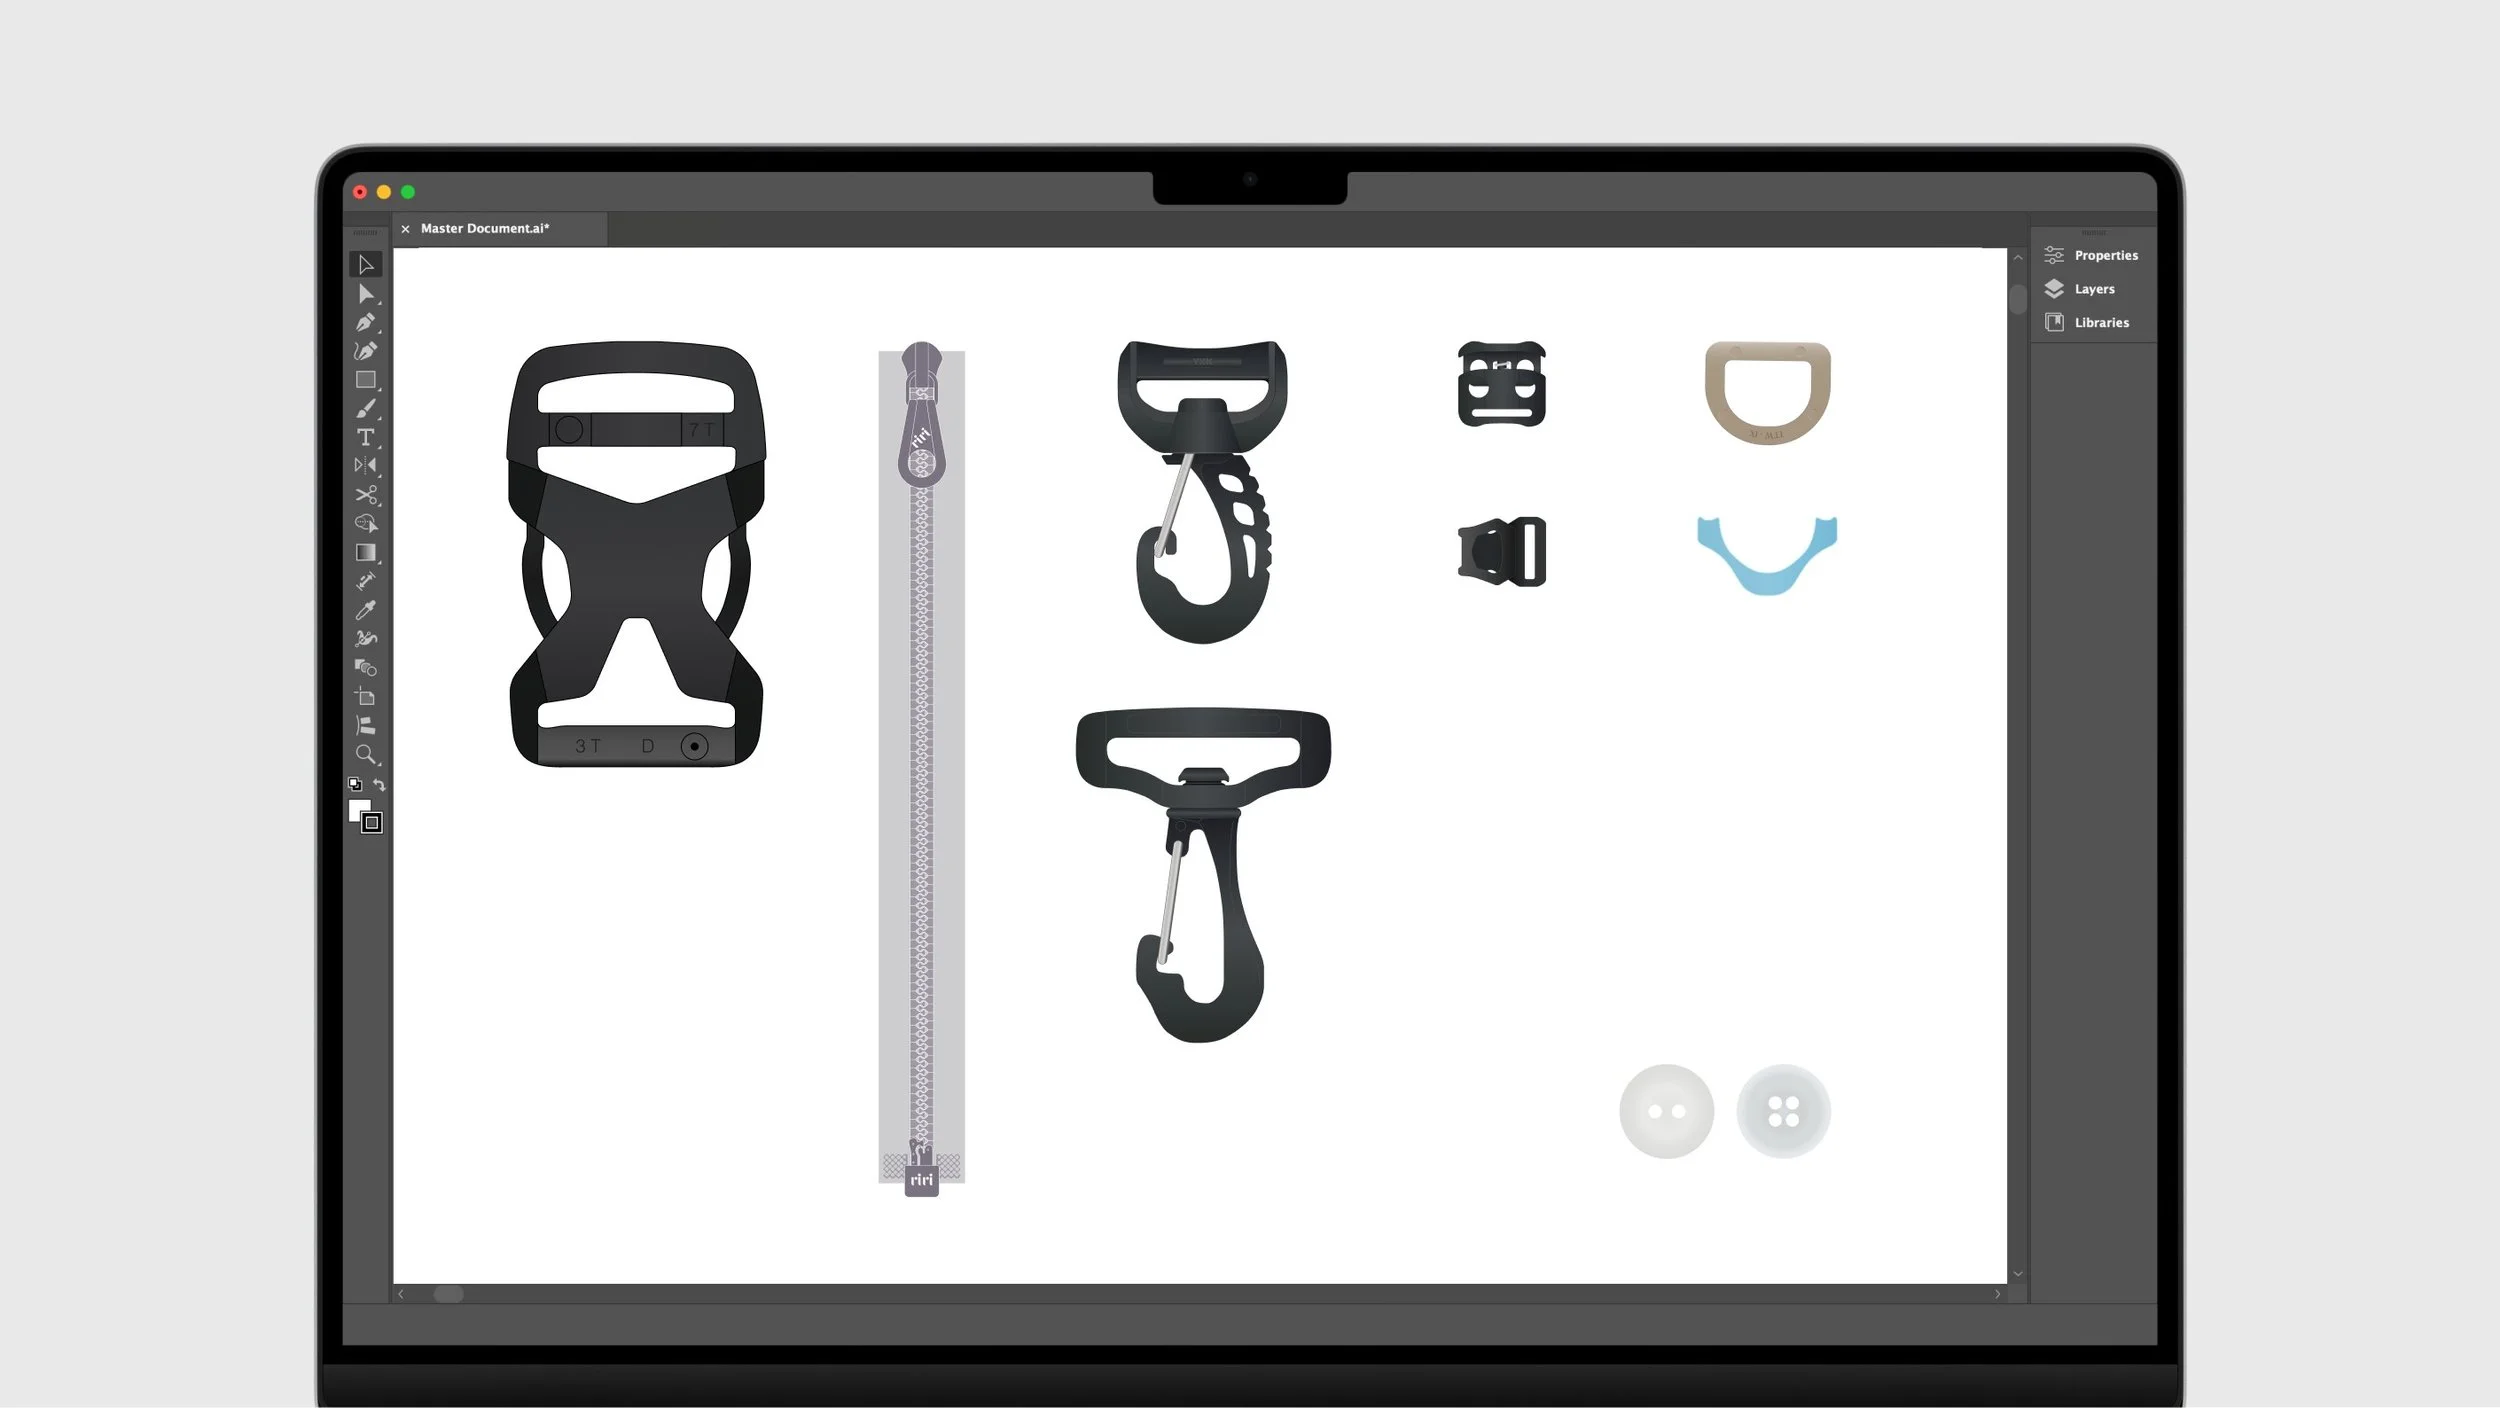
2. Explore the full library
Explore the Master Doc to find relevant components for your tech-packs and designs.
3. Copy the asset you need
Select your chosen asset and press (CMD+C) to copy it.
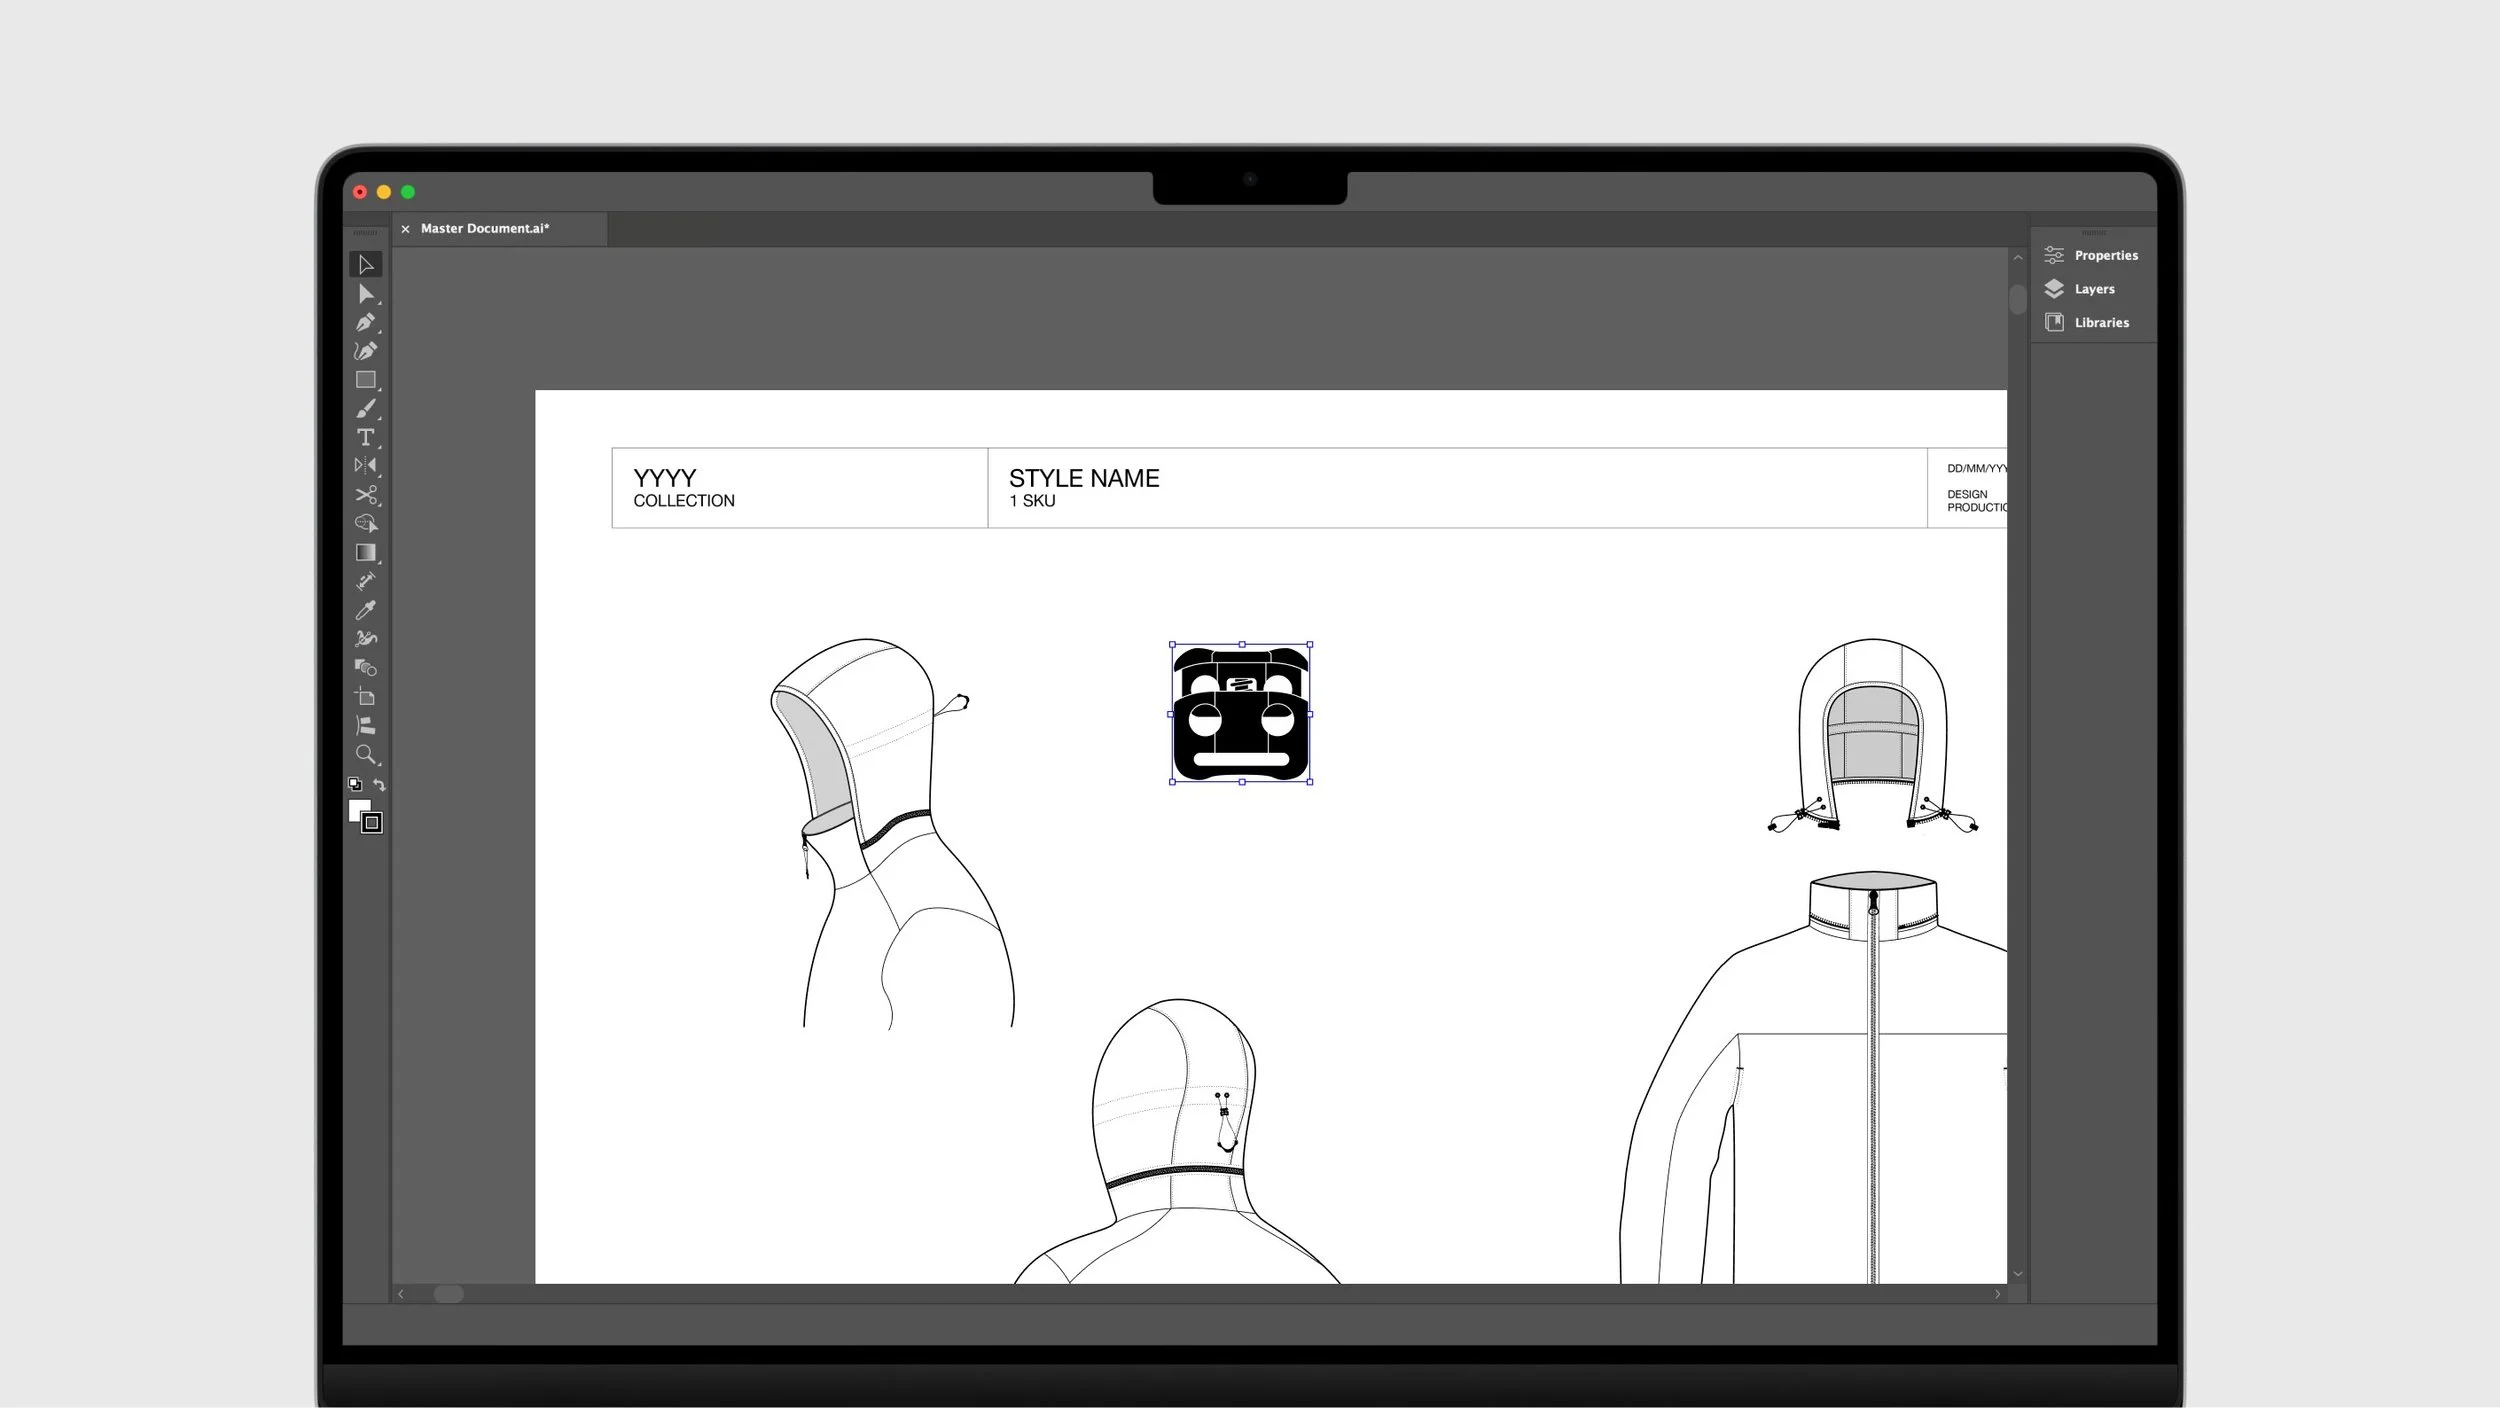
4. Paste the asset into your tech-pack
Open your tech-pack or design file, and press (CMD+V) to paste the asset inside.
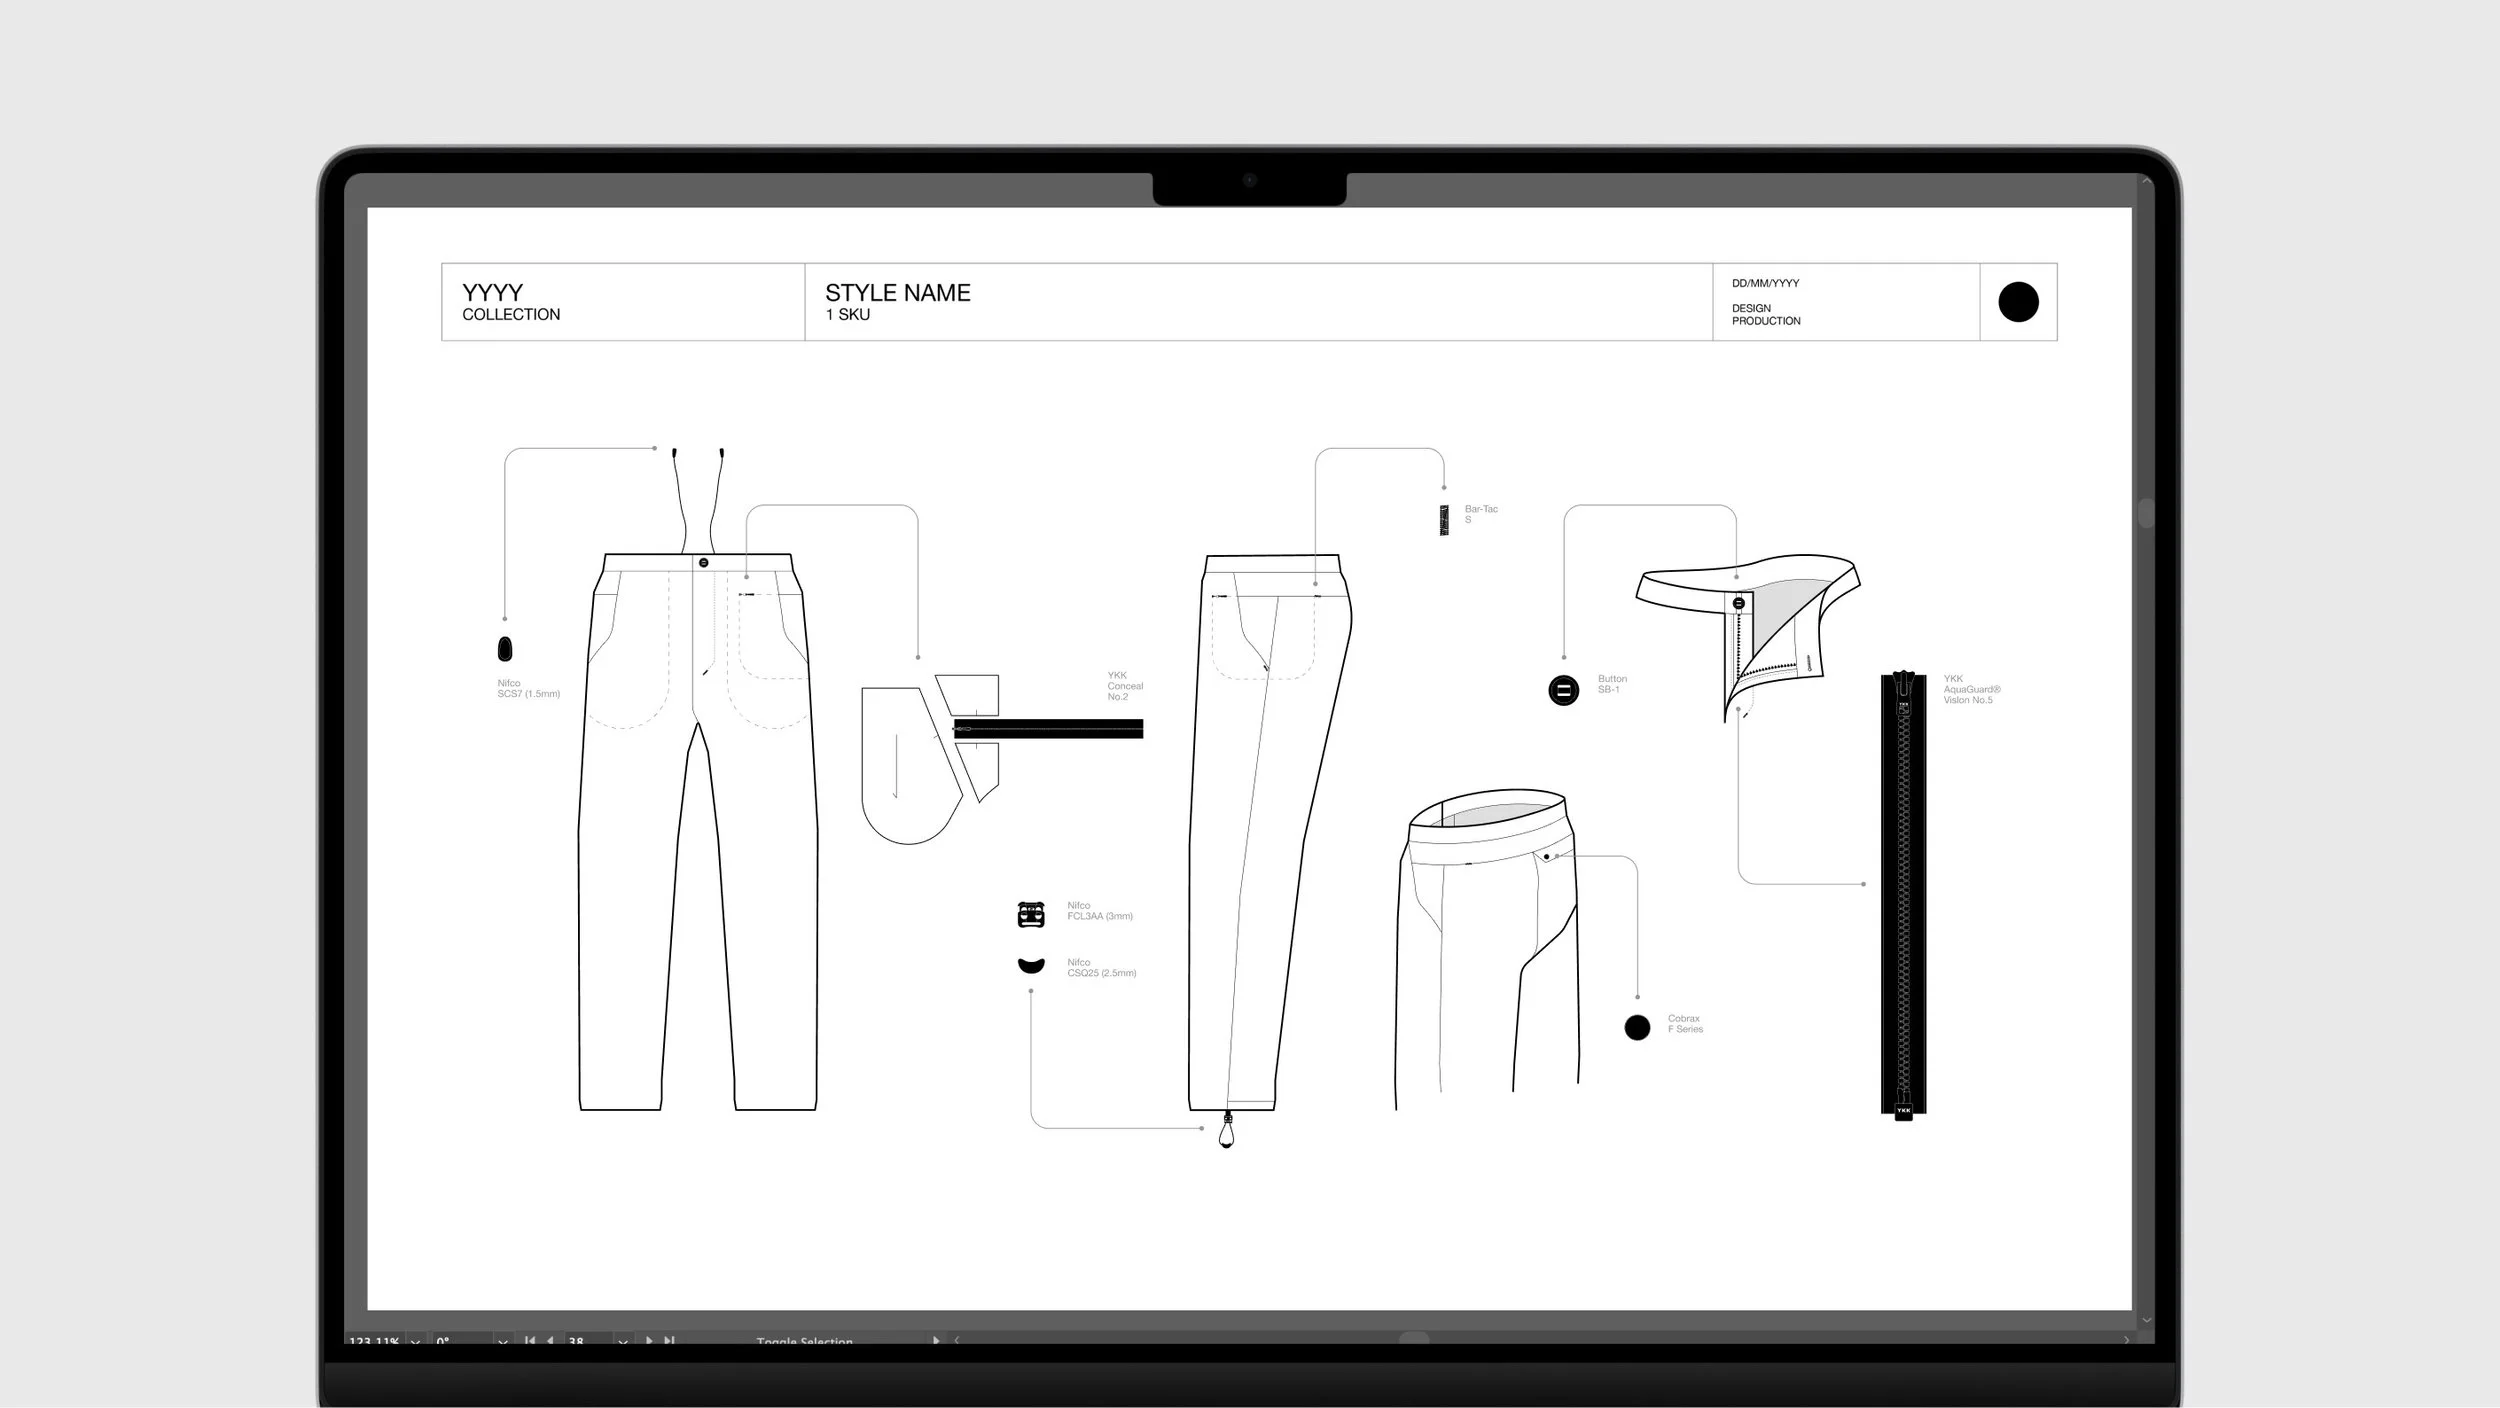
5. Repeat this process for all the assets you require
Continue copying and pasting assets into your tech-packs to build each design using consistent components.
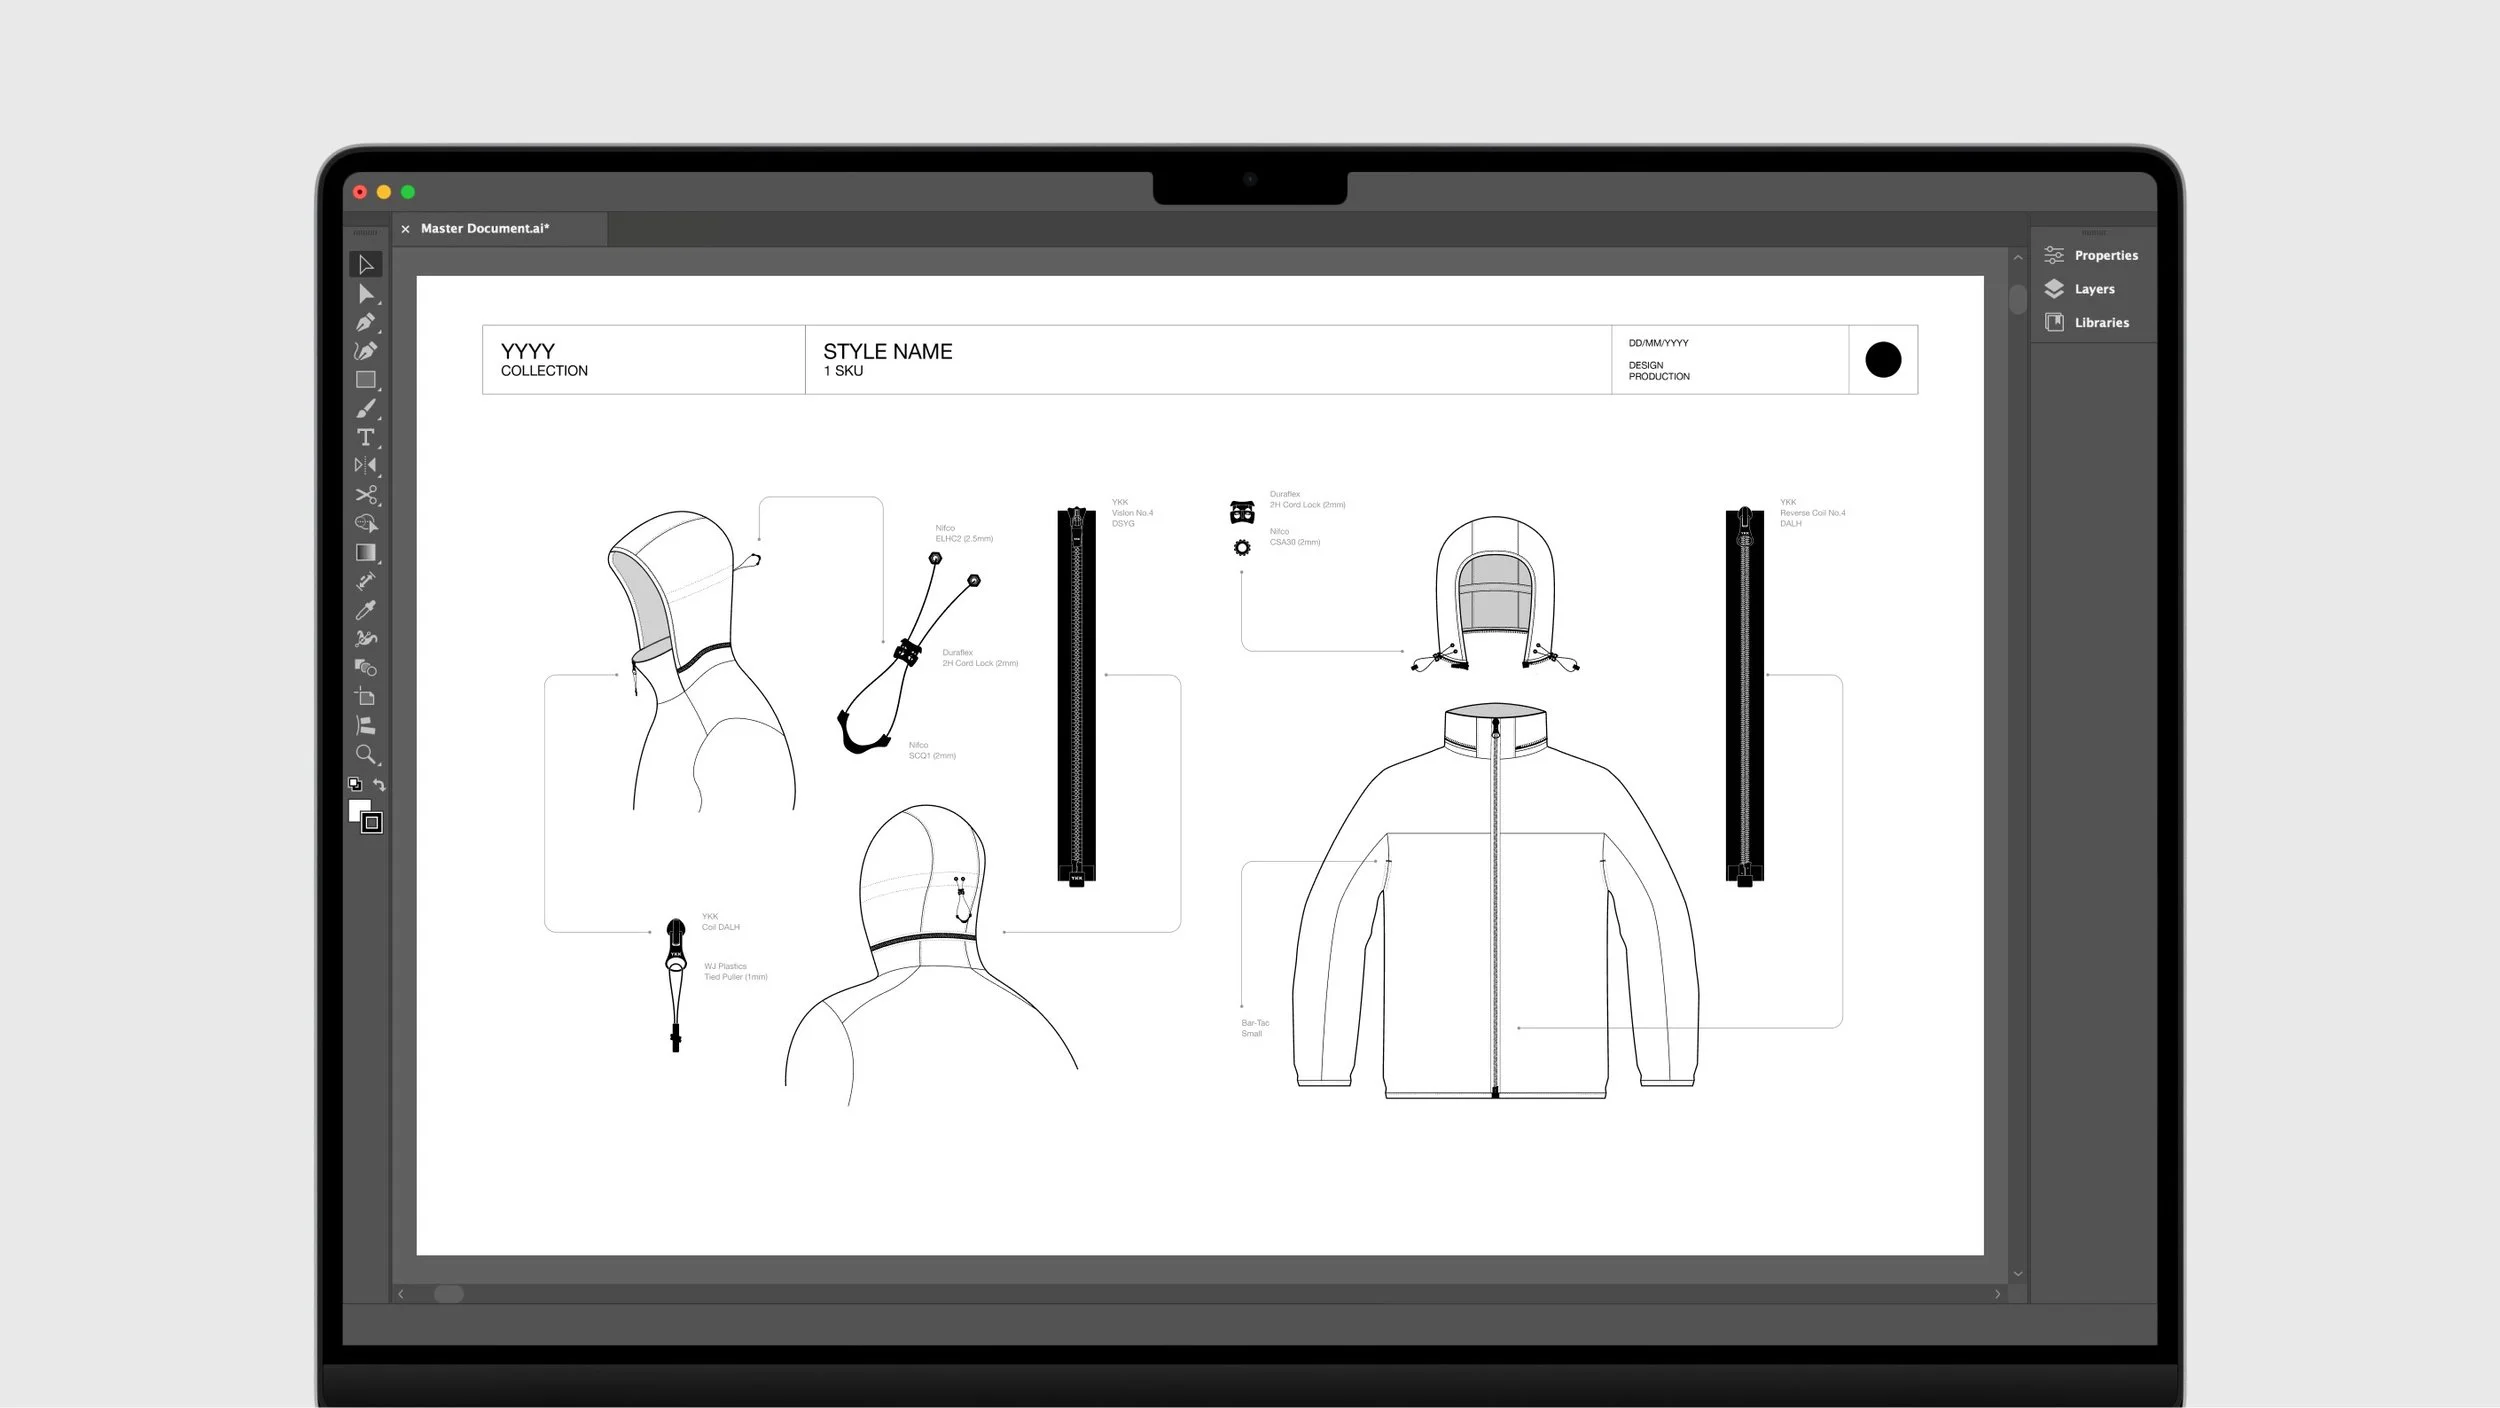
6. Interact with dynamic assets (optional)
Double-click on buckles, and cord locks, to adjust them, and add refined detail sections to your designs.
7. Edit colour
(optional)
Use Adobe Illustrator’s Colour and Gradient tools to edit the components as needed.
8. Export and share
Export your tech-pack in the required format and share it with your manufacturer or team.
[ Procreate ]
1. Install Procreate brushes
Airdrop the “TPA Brushes Procreate” folder onto your iPad, and save to files. Select the files to open them in Procreate, and the brushes will be automatically installed.
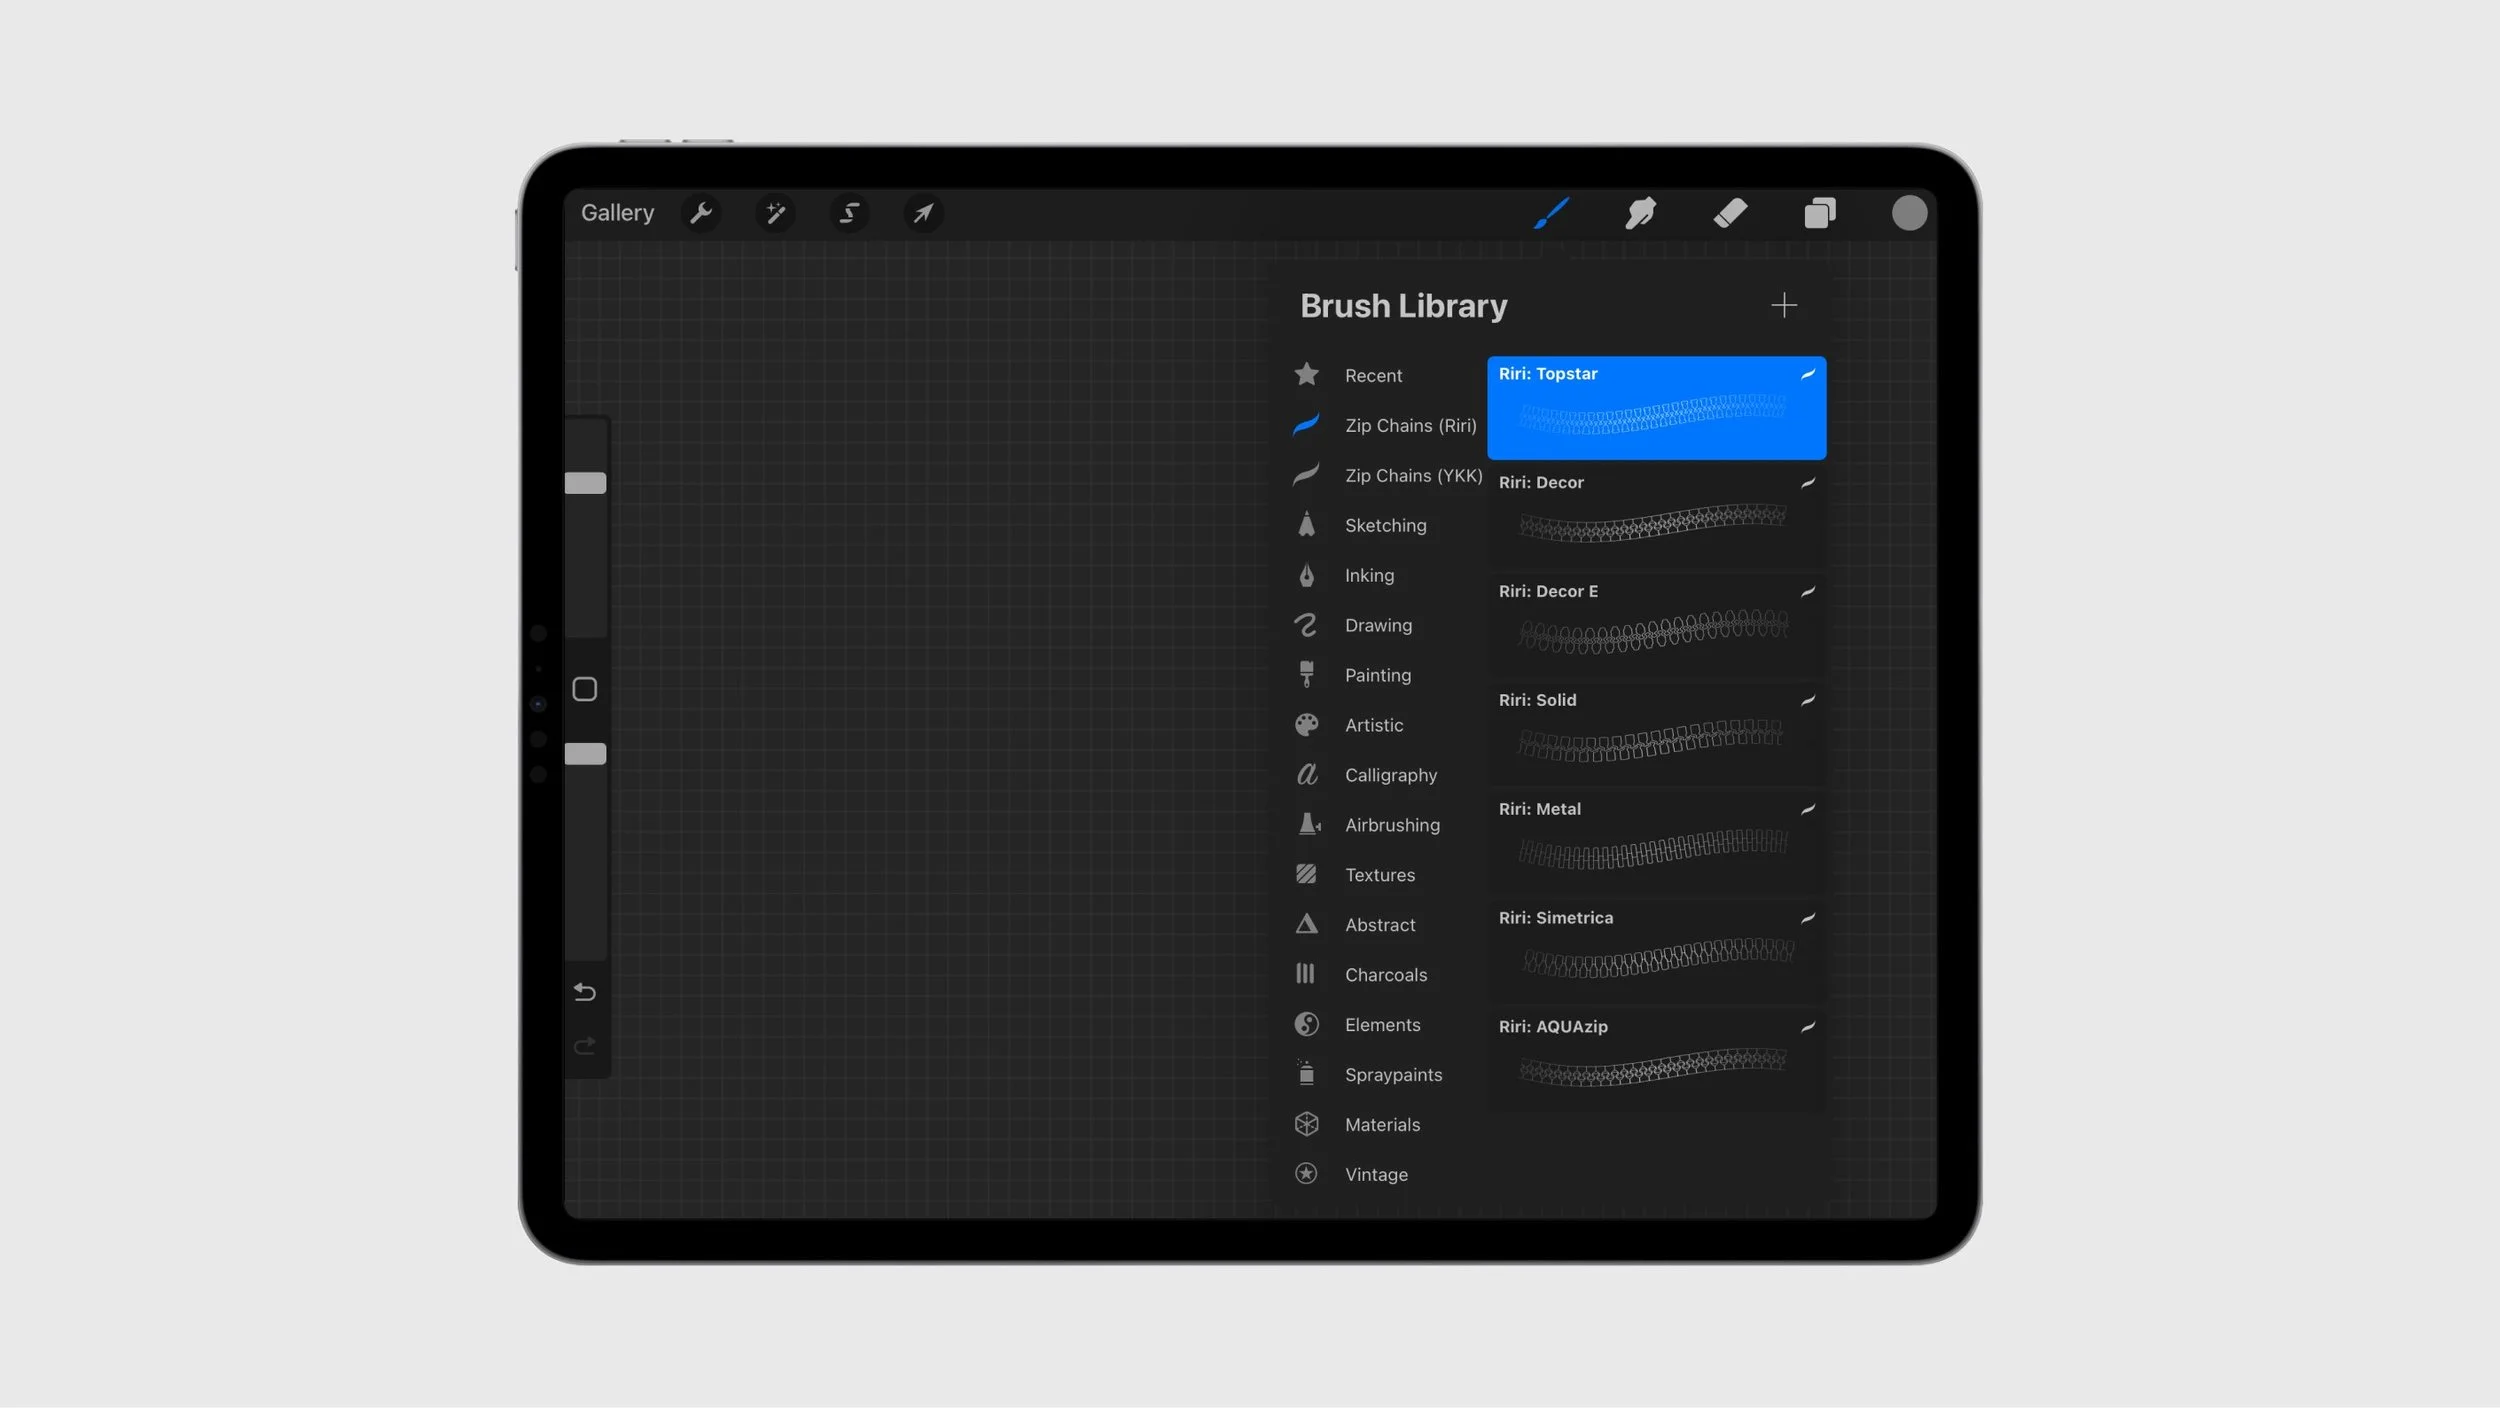
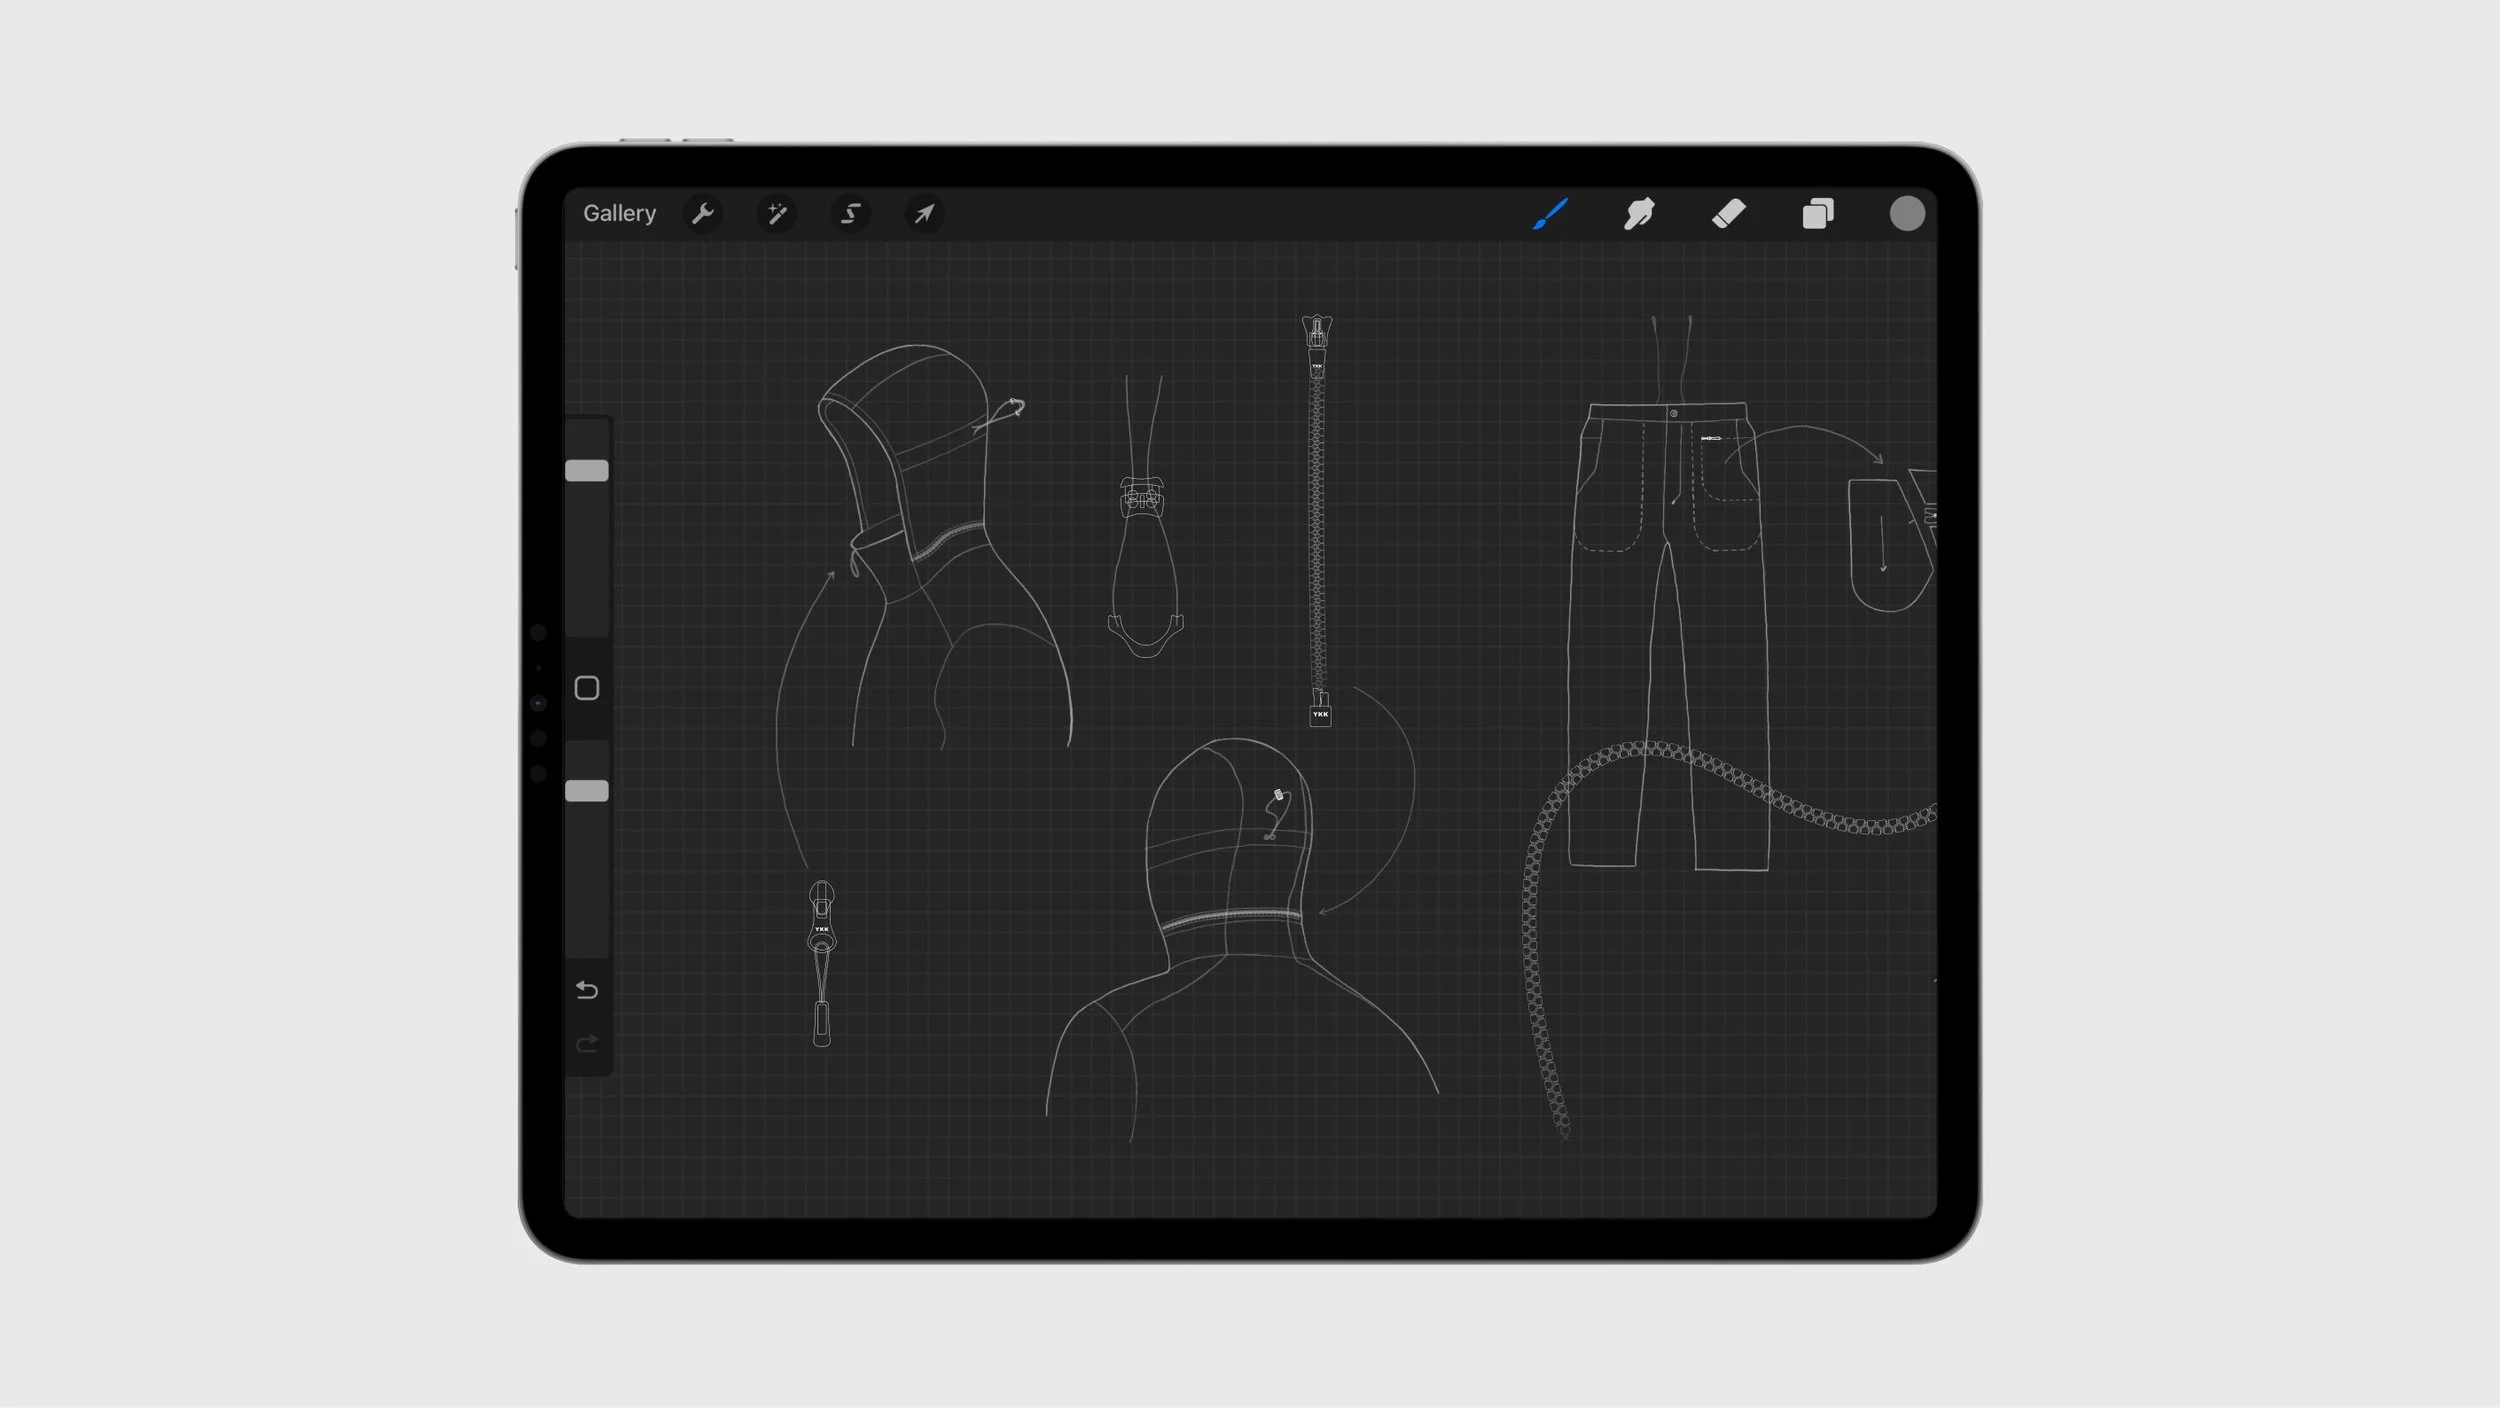
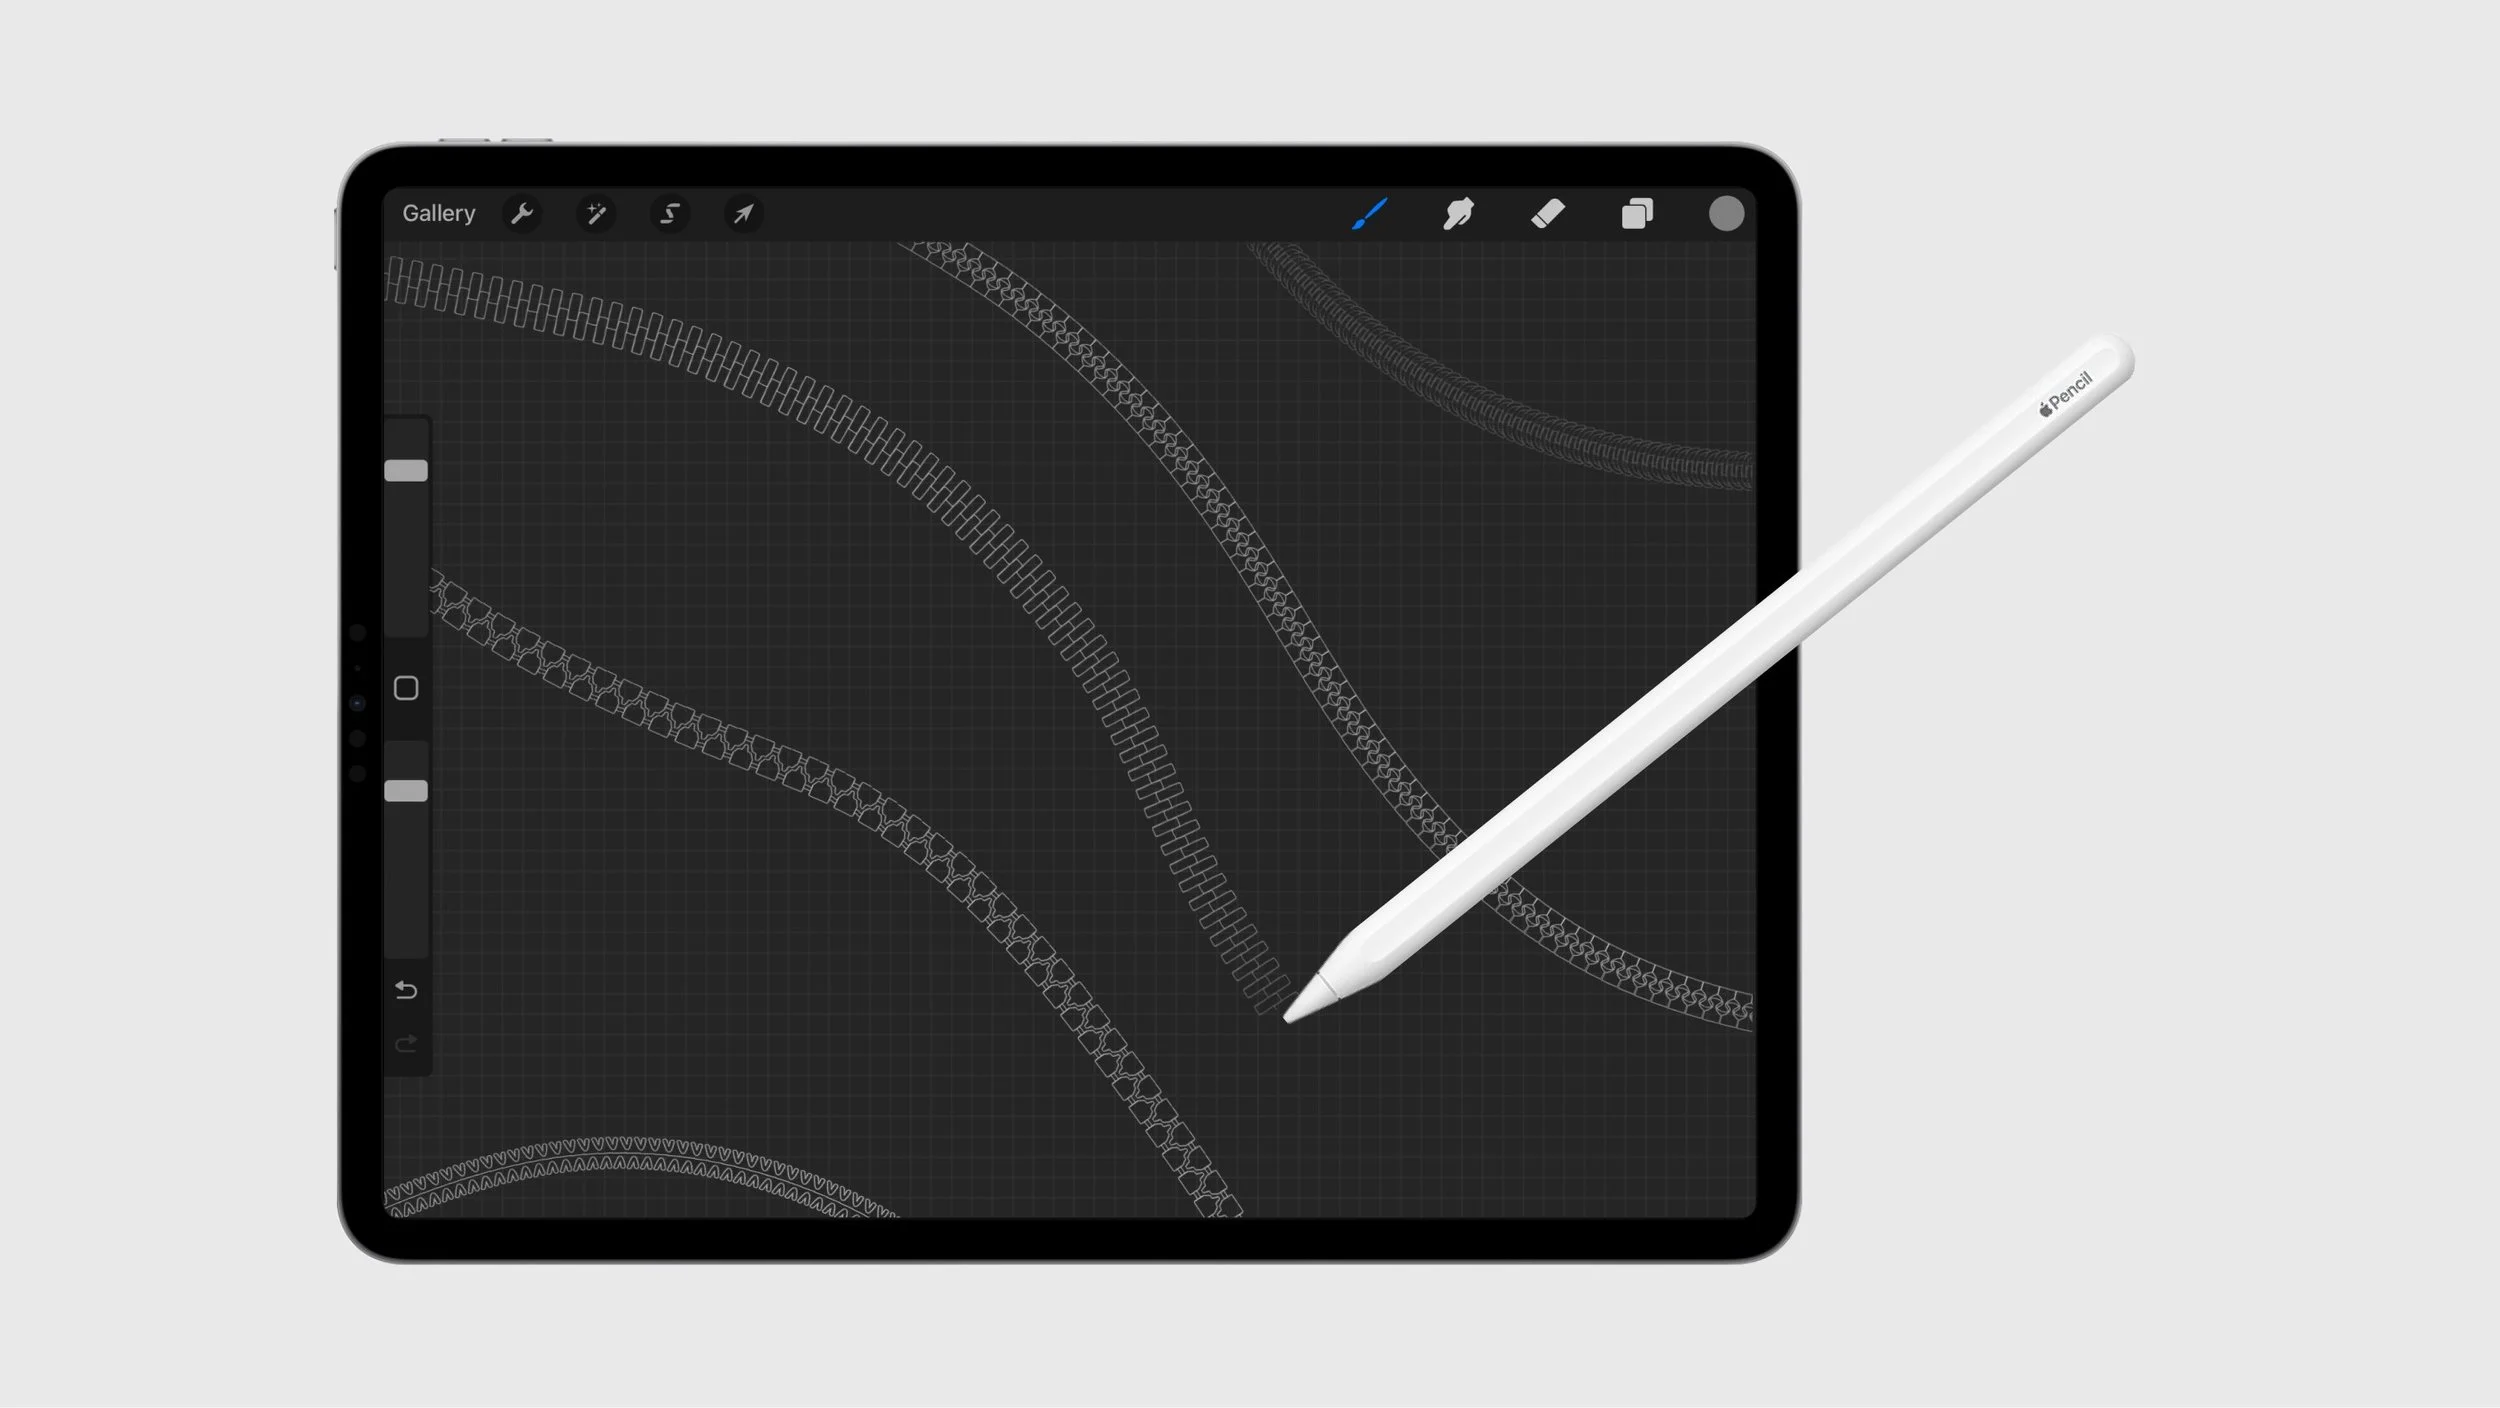
2. Illustrate zips freehand
Select a zip chain and use your Apple Pencil to draw the zip path directly onto your design.
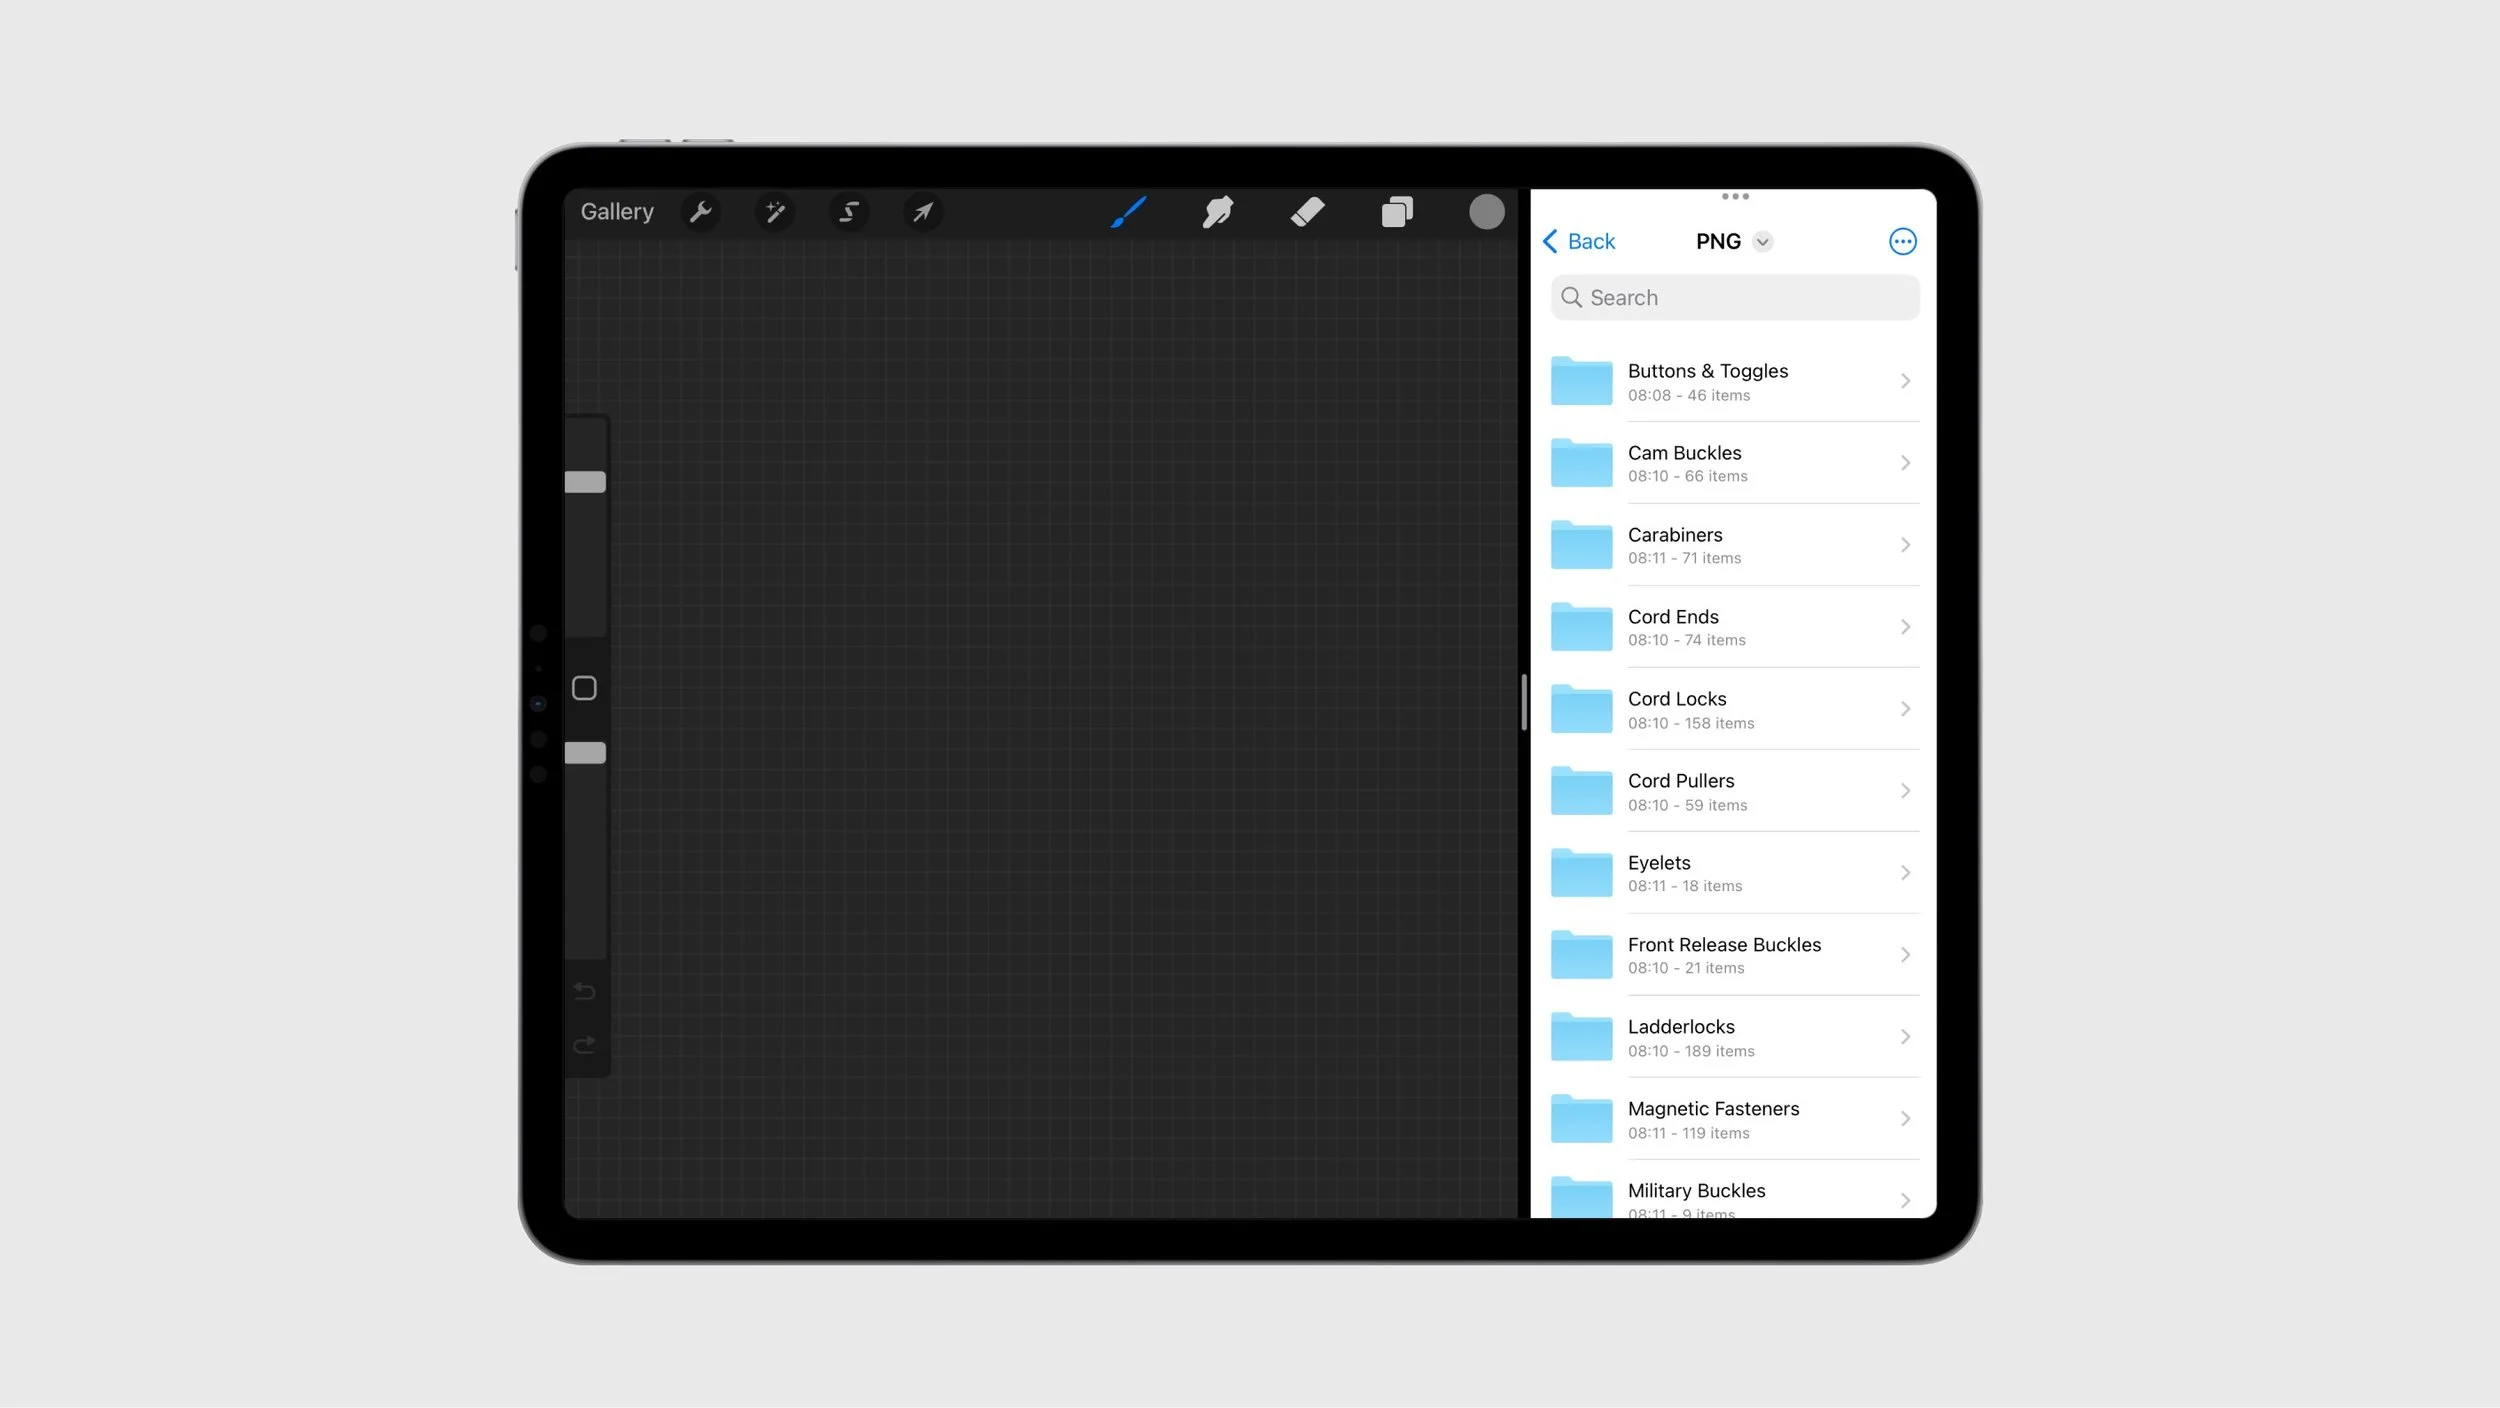
3. Install the Procreate PNG’s
Airdrop the TPA Catalogue “PNG” folder onto your iPad, and save to files. Swipe up from the bottom of your screen to view open windows, and drag the Files window into Procreate to activate Split View.
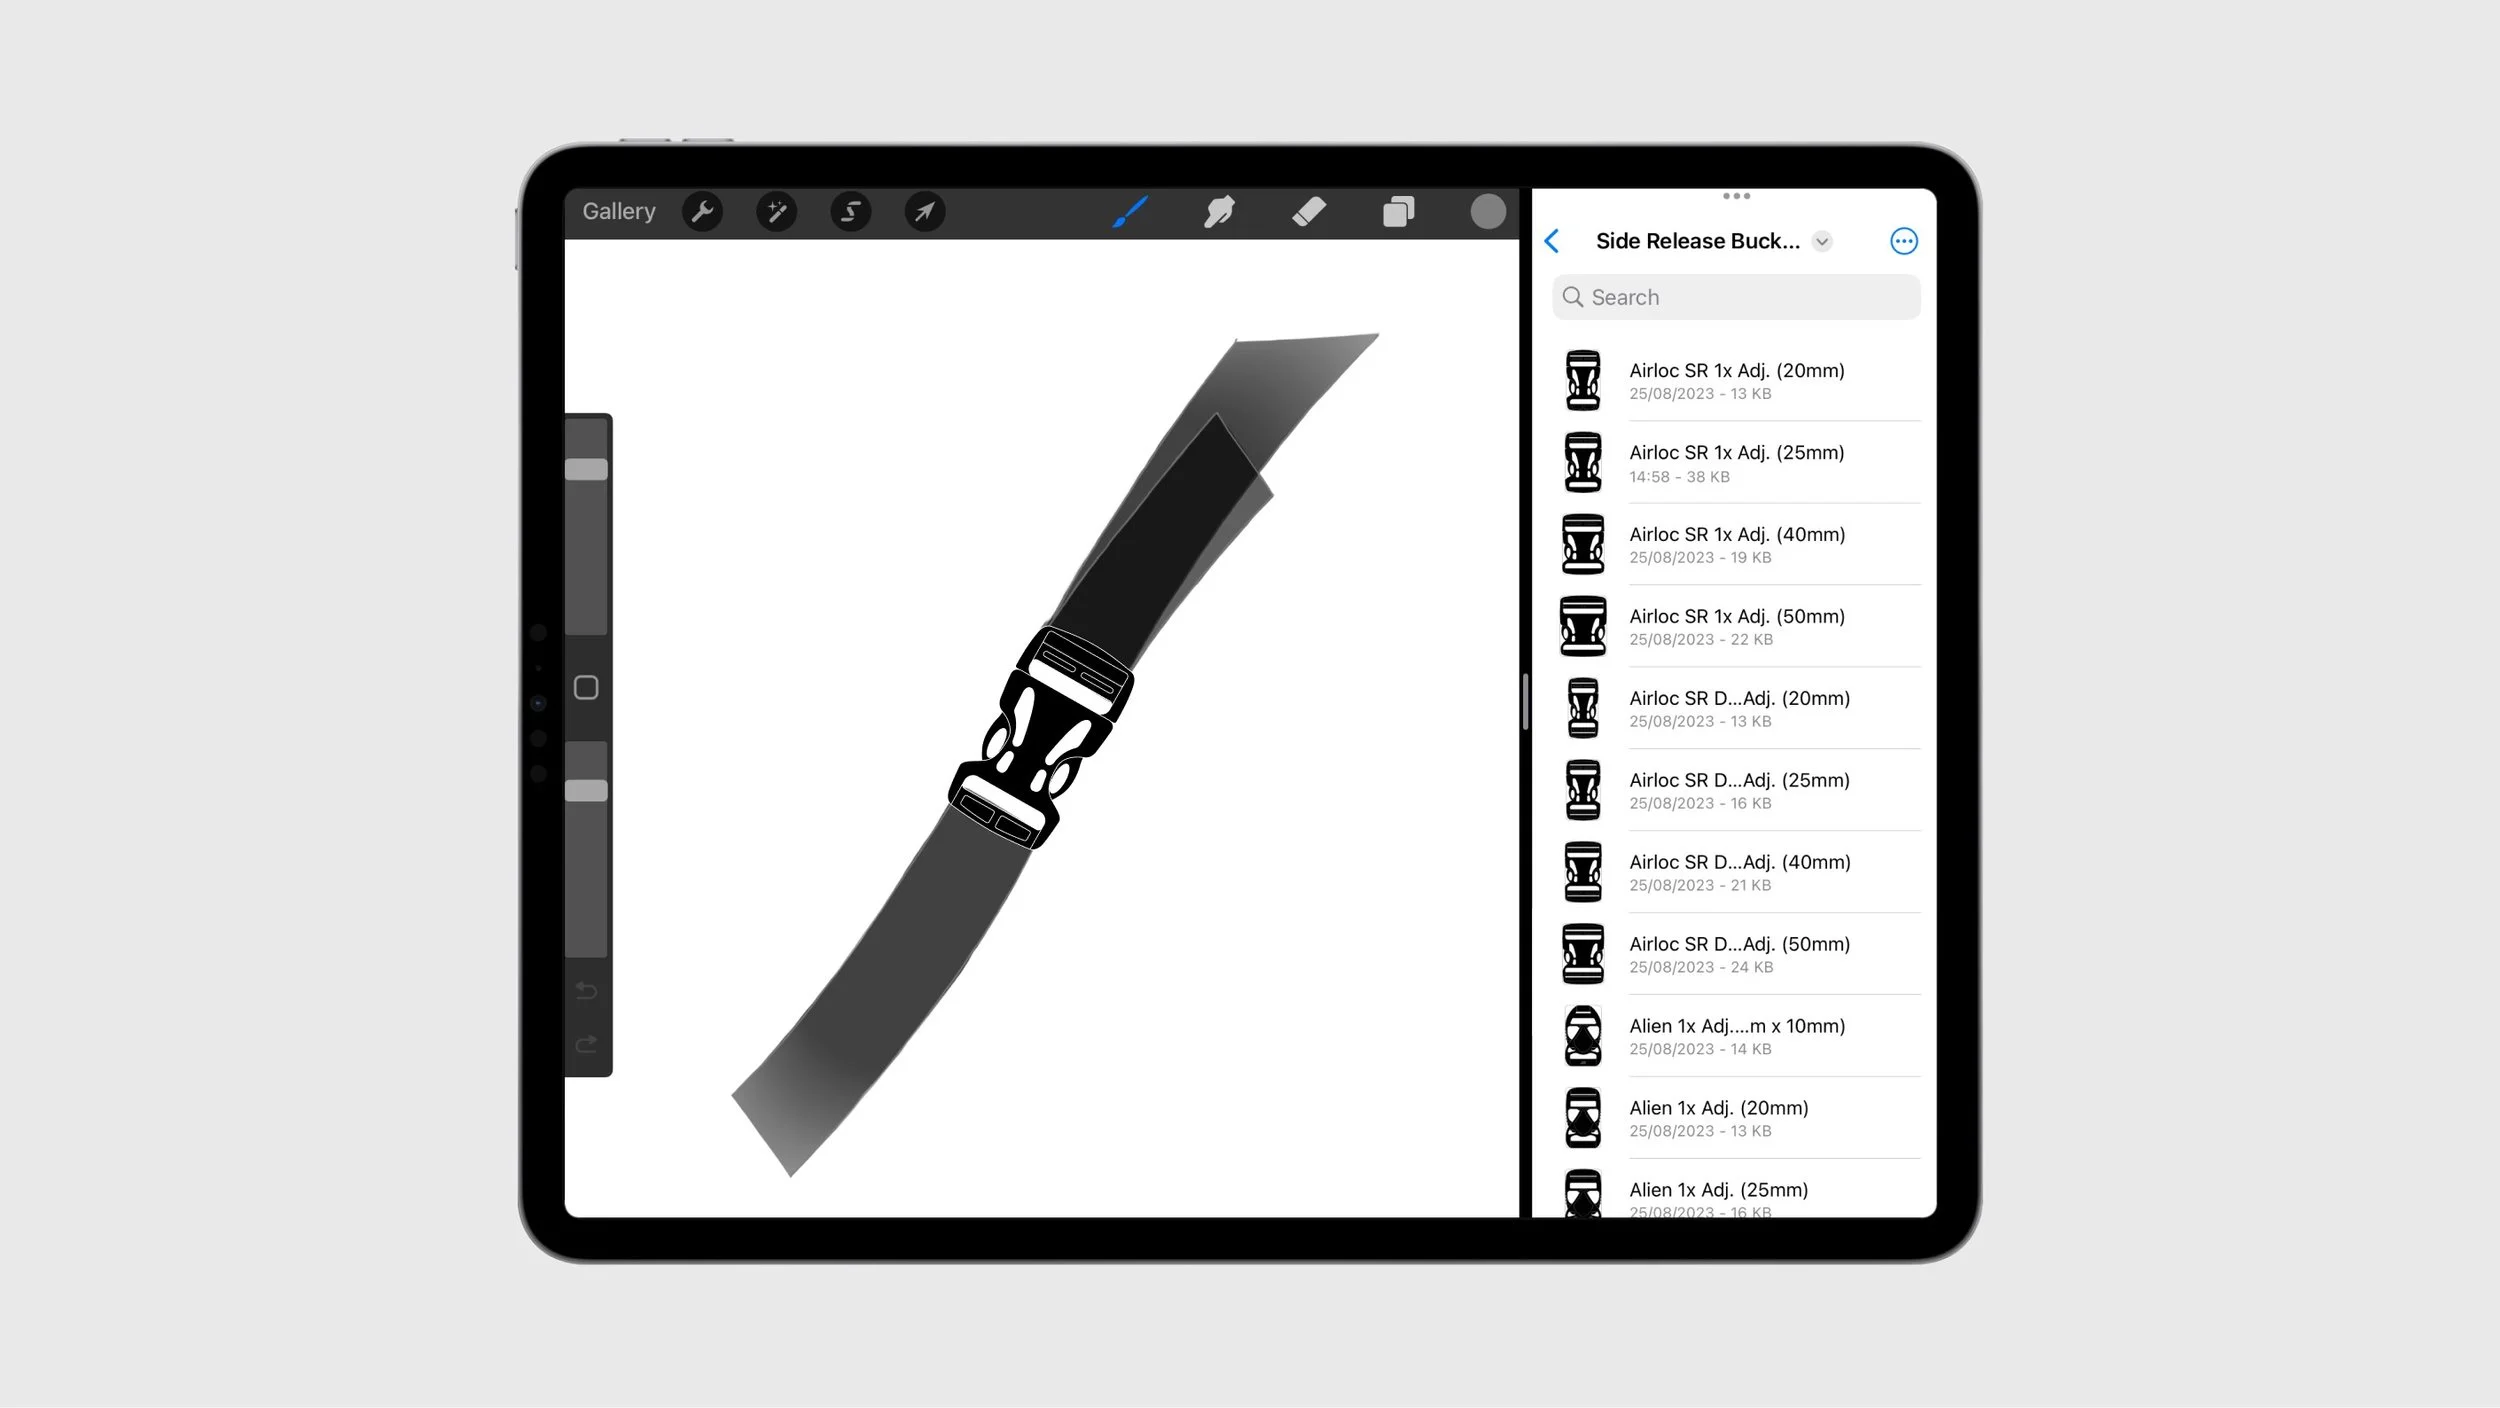
4. Drag assets into
your project
Use Split View to drag-and-drop components into your Procreate design projects.
5. Create your illustrations
Continue adding and arranging assets in your Procreate sketches until your design is complete.